
Roles and permissions
The three system roles, and how to build custom roles on top of them
Introduction
Every user holds one of three system roles:
- Owner: Can delete the workspace.
- Admin: Can change workspace settings and invite new members.
- Member: Cannot change workspace settings or invite new members.
Owners and admins can go further and build up to 10 custom roles, each with its own set of permissions.
Among these permissions, it is possible to allow or restrict specific actions in the following categories:
- Case
- Check
- Risk
- Company
- Individual
- Template
How to create and/or edit custom roles
As the owner or an admin of the workspace, to create or edit a custom role, you can navigate to Settings > Users > Roles.
Two relevant examples of custom roles could be:
An auditor needs to see everything and change nothing. Uncheck every permission and you have a read-only role.

An analyst does the daily compliance work. Enable every permission except changing risk and editing templates.

The new role then appears in the role dropdown on the user list, ready to assign.

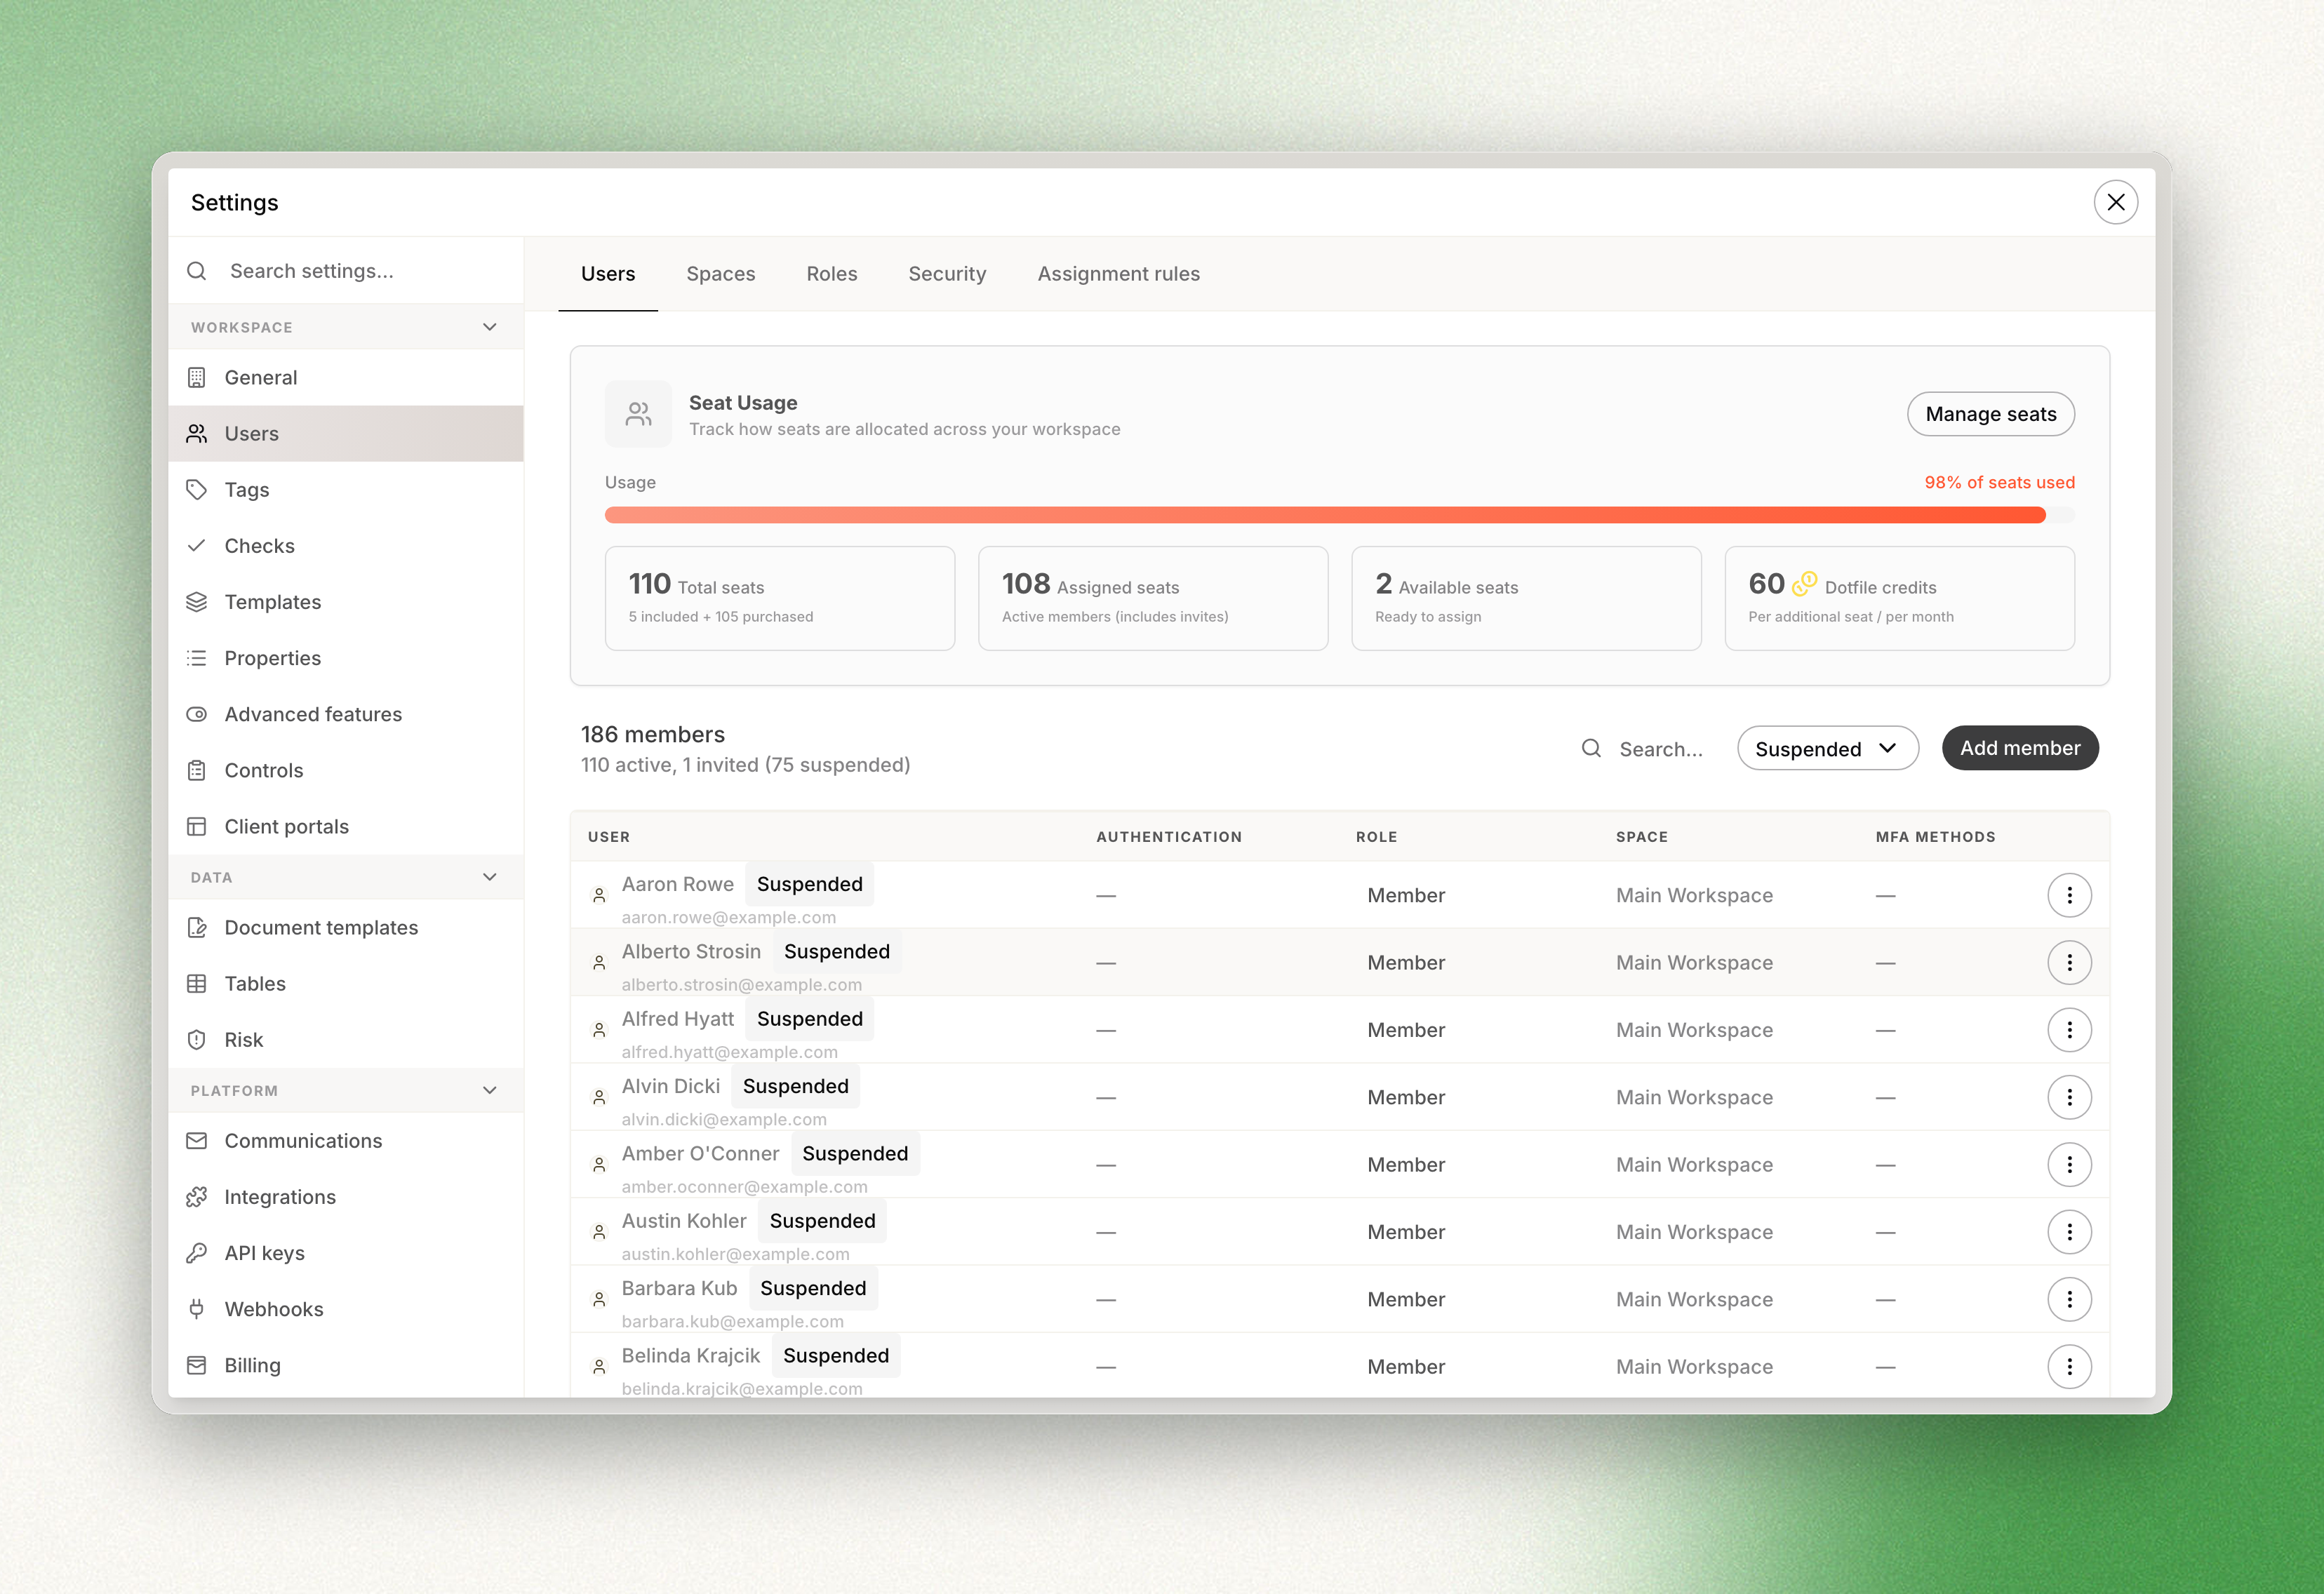
Suspend and re-activate users
Instead of deleting users when they leave the company, you can suspend them from the workspace.
Suspended users will remain visible in the console and activity logs but will no longer have access to the workspace.
You can reactivate these users at any time if they return and need to resume their work.
Updated about 1 month ago