Add fields and layout to your steps
Add fileds
To add fields to your steps, click the "Add Field" button and search for the property (default or custom) you want to associate with it. Remember, each field must be linked to an existing property, so creating custom properties is required before adding fields in the client portal.
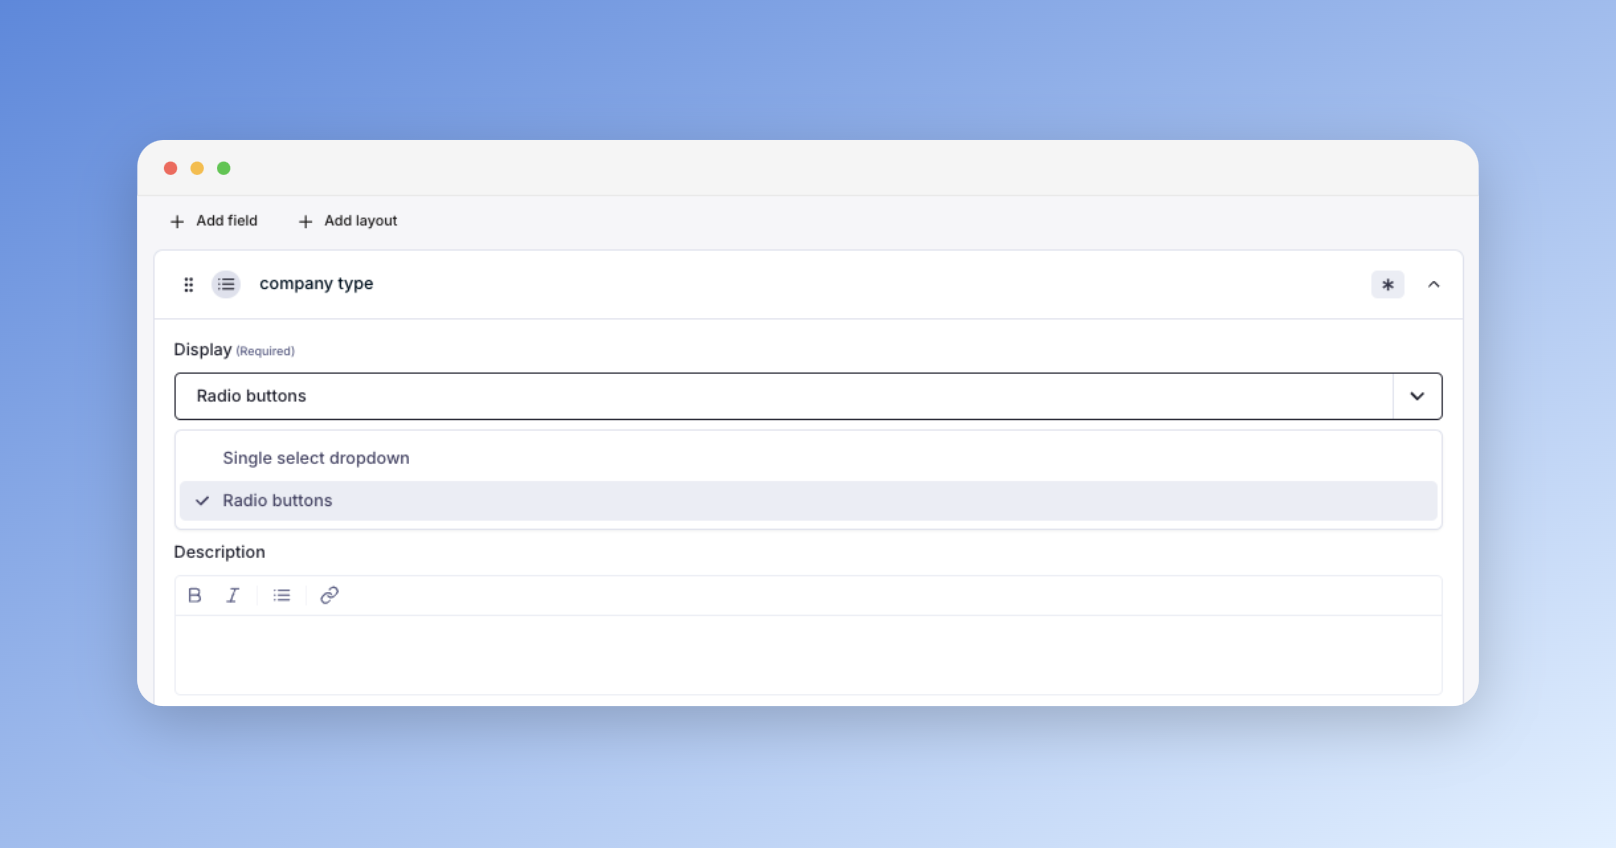
The field display will automatically adapt to the property type. For example, a property type "Choice" will be displayed as a dropdown menu, and a property type "Yes/No" will be displayed as Yes/No buttons.
Choose Your Field Display
- For Property Type "Yes/No":
- Yes/No buttons.
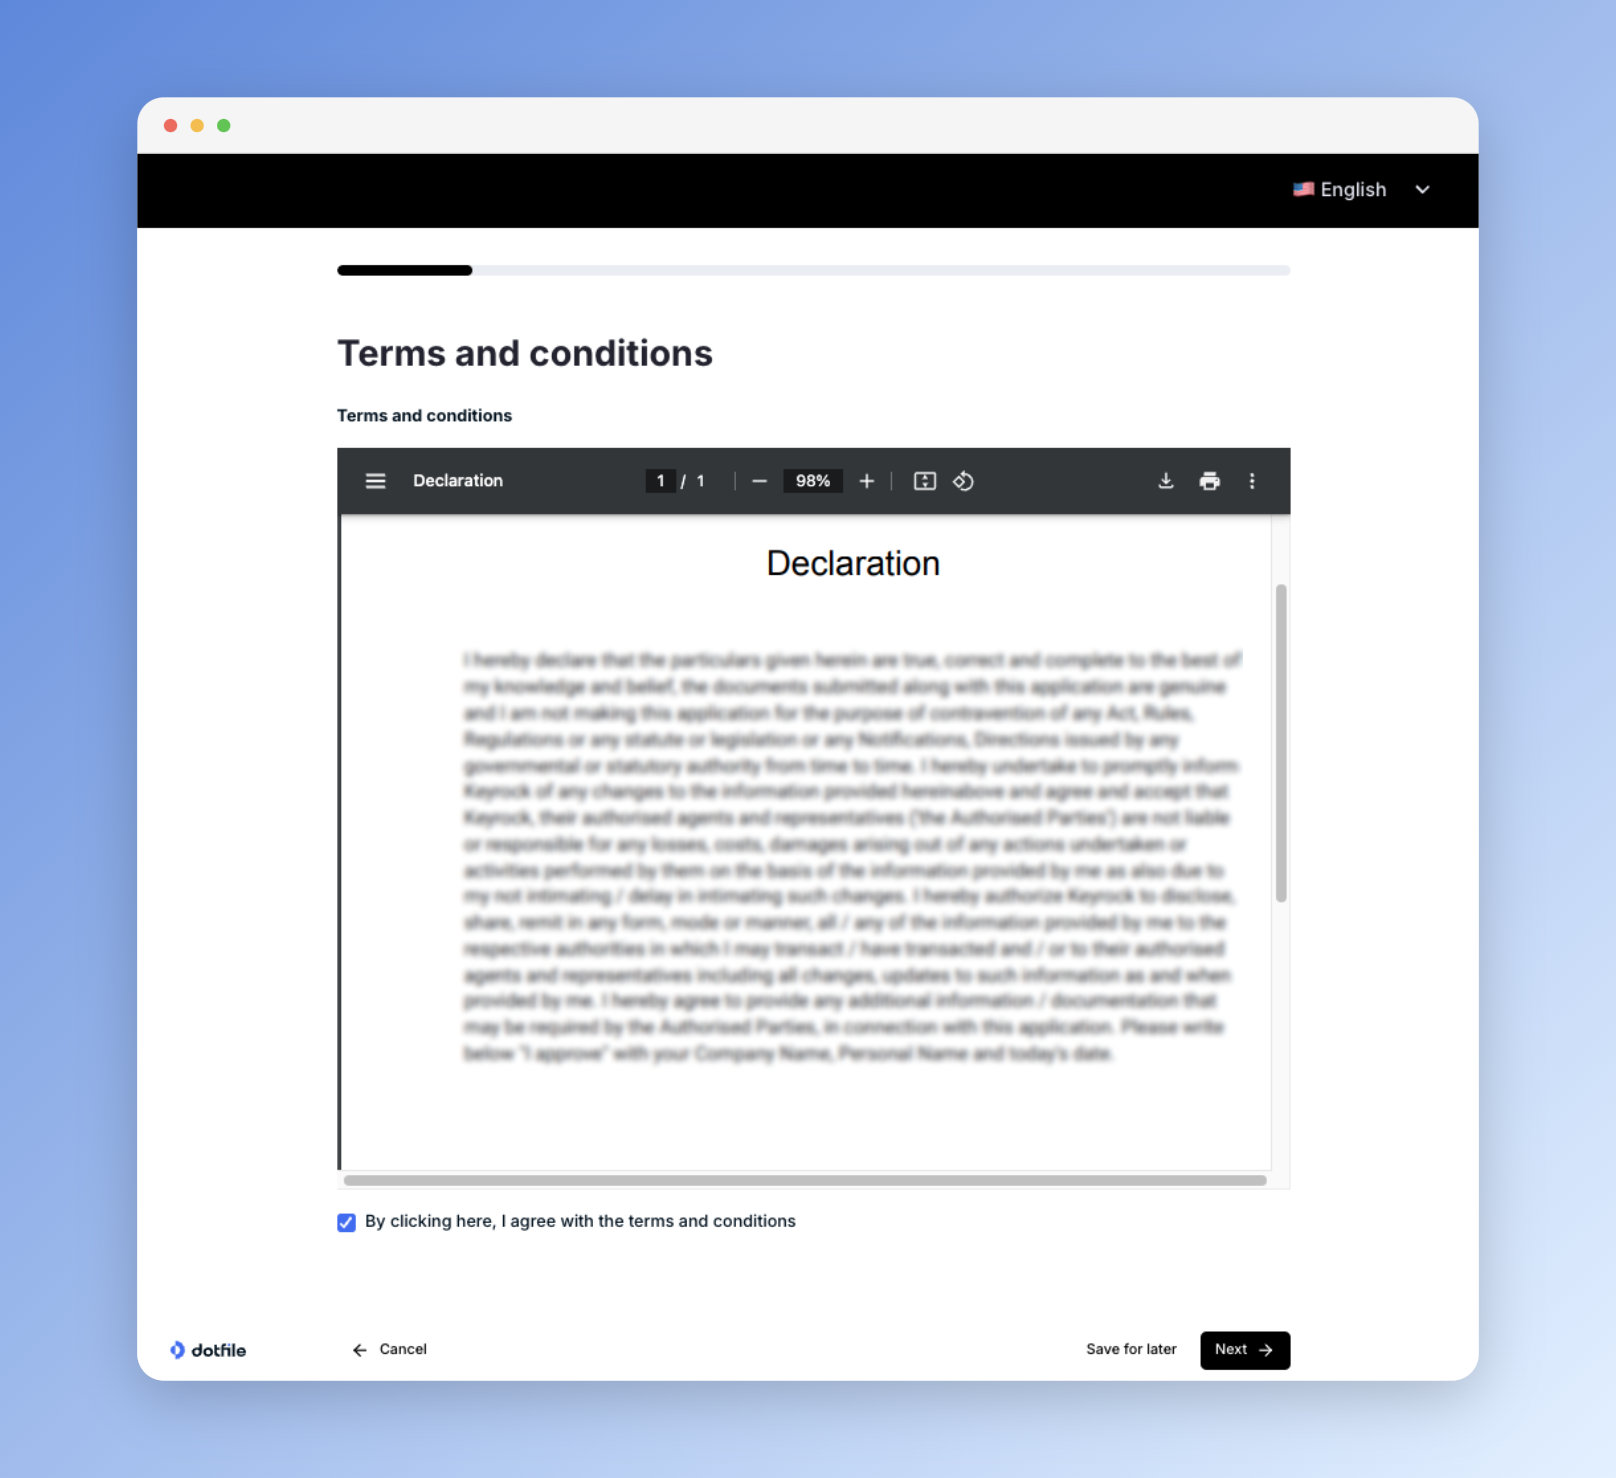
- Checkbox (e.g., for accepting terms and conditions).
- For Property Type "Choice":
- Single-choice properties can use a single-select dropdown or radio buttons.
- Multiple-choice properties can use a multi-select dropdown or checkboxes.
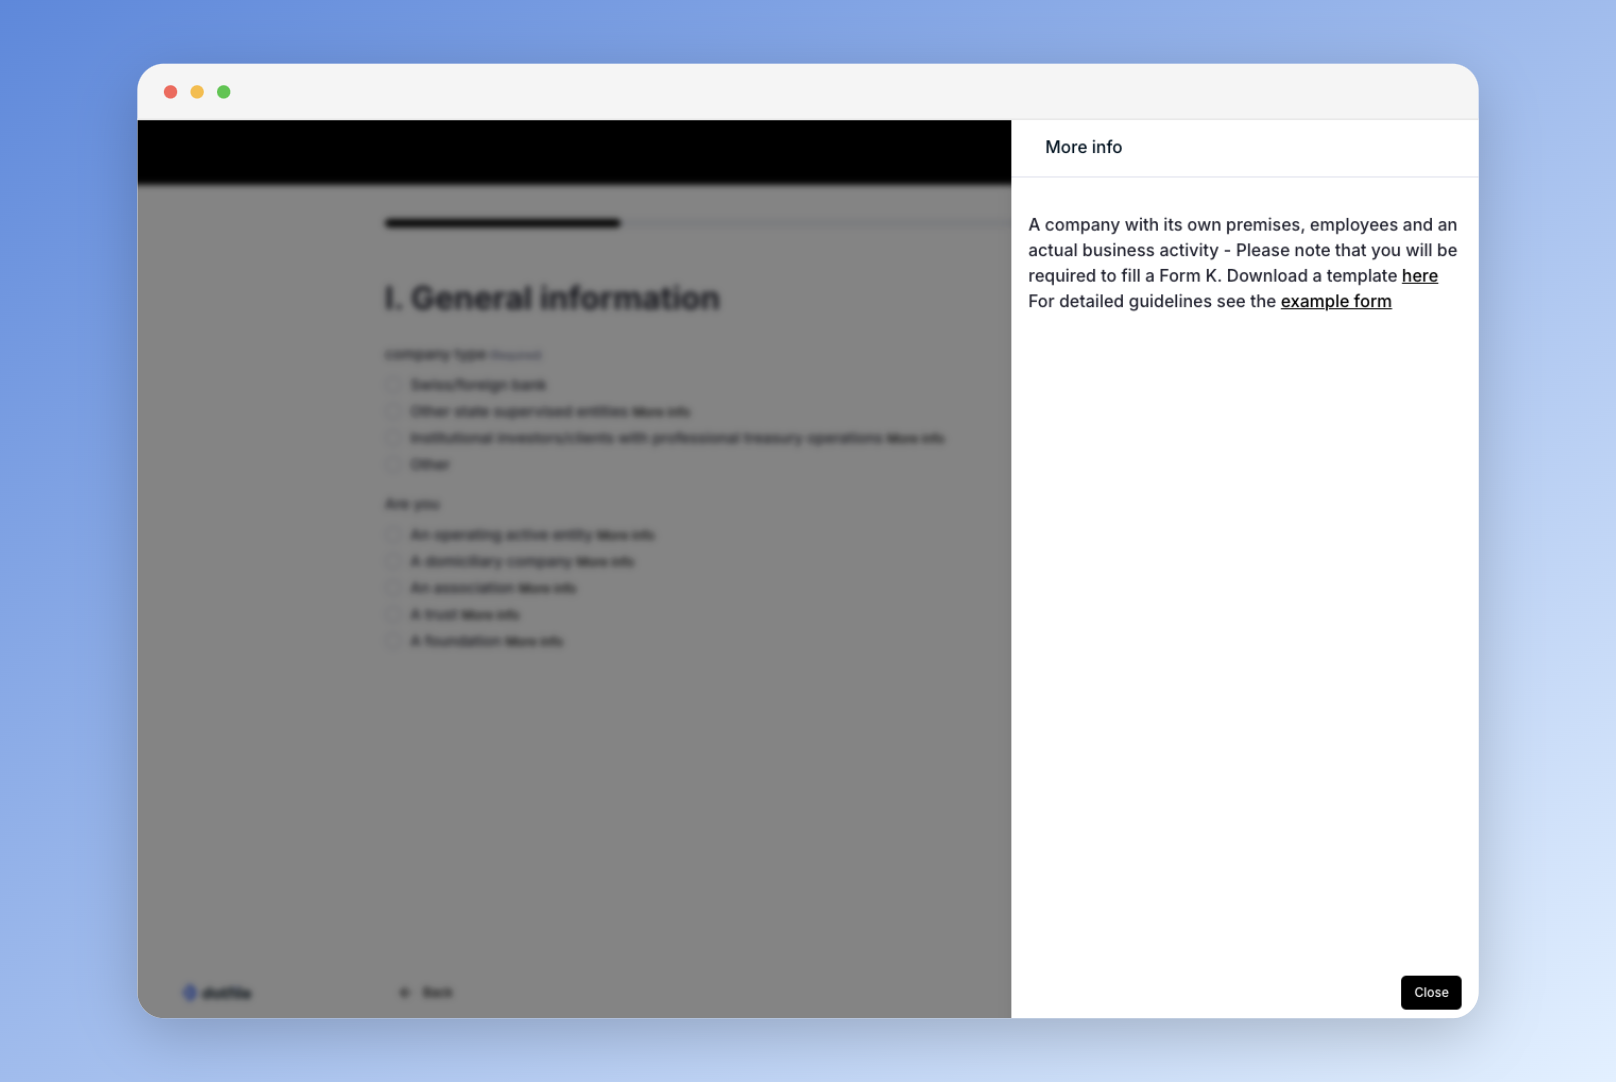
Add Context to the Choice Options
For radio buttons and checkboxes, you can enable a side panel to display additional context. The context text editor supports rich text editing to enhance clarity and presentation.
Add layout
The client portal also allows you to add a custom layout, not only to improve clarity when adding additional descriptive text to your step but also to enhance the overall look and feel.
You have the option to add the following elements:
- Dividers: Useful for separating your step into subcategories.
- Text: When you need to include extra descriptions in your step.
- PDF: If you want to display a PDF viewer within the step.