Custom Properties Group
Introduction
Custom Property Groups let you arrange your workspace's custom properties into logical sections with a configurable display order, so the most relevant fields appear exactly where your team needs them.
How It Works
Property Groups provide two capabilities: grouping properties into named sections, and controlling the display order of both groups and properties within groups.
Named groups: Create groups like "Identity Information", "Financial Details", or "Risk Assessment" to organize properties into logical sections.
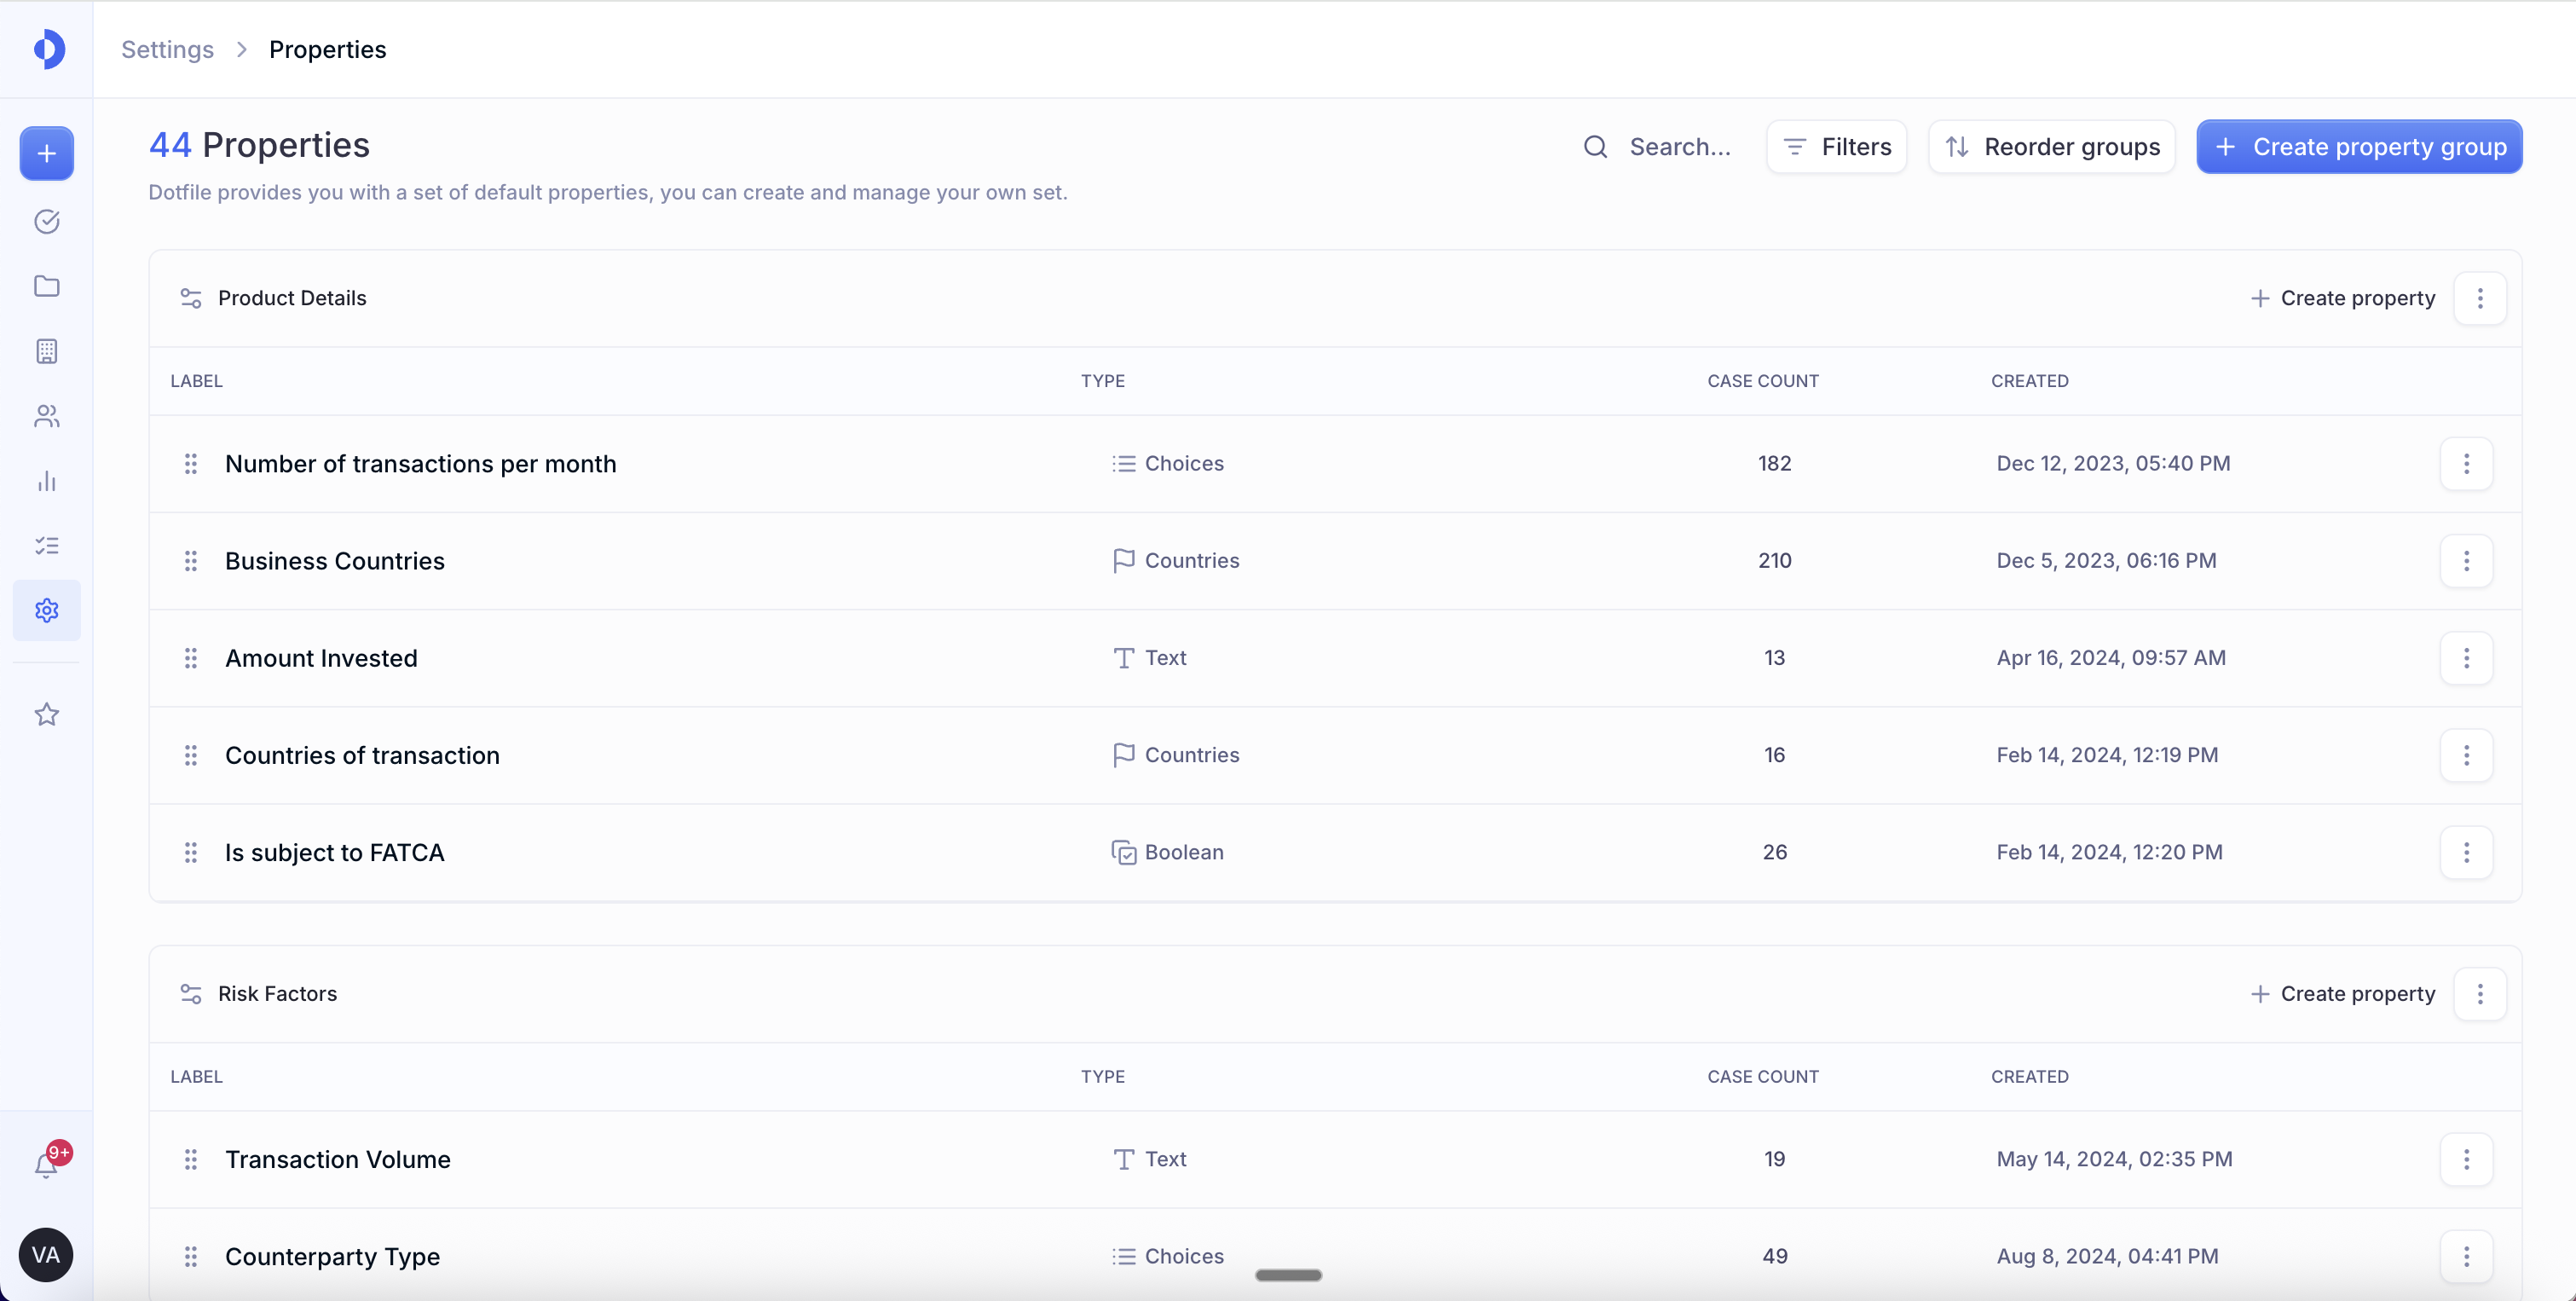
Drag-and-drop reordering: Reorder properties within a group using drag-and-drop in the workspace settings page. Groups themselves can also be reordered.
Entity-scoped: Groups are scoped to an entity type (case, company, or individual). Each entity type has its own set of groups.
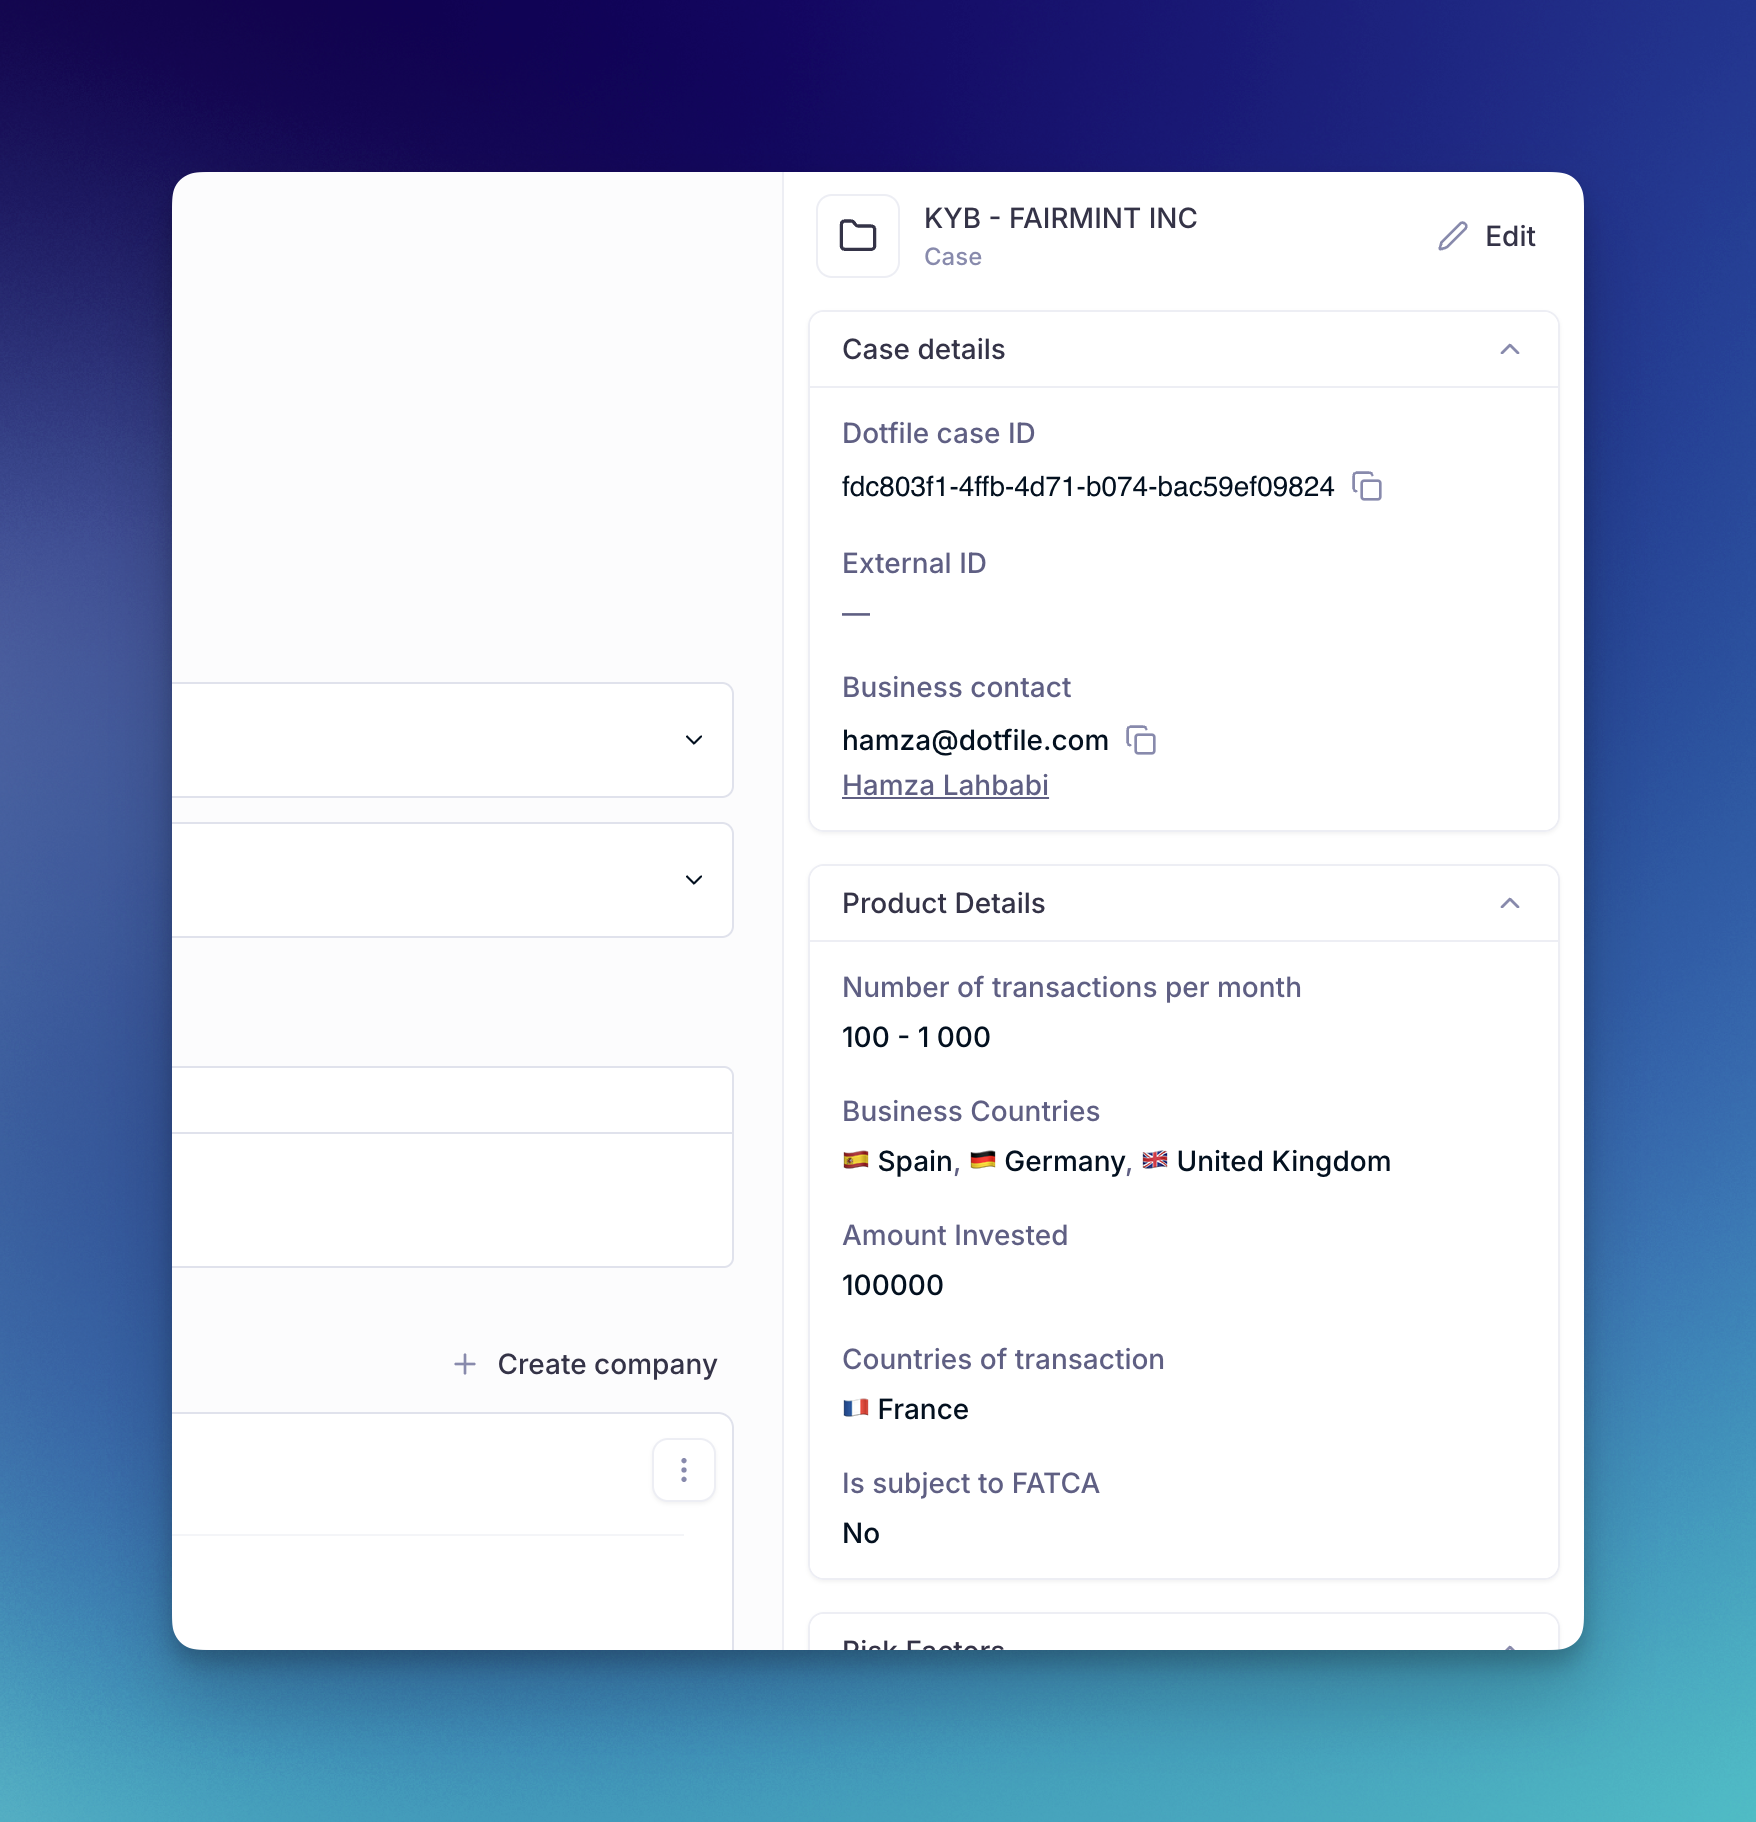
Collapsible display: In the entity detail view (case, company, or individual profile), property groups are displayed as collapsible sections, reducing visual clutter.
Creating a Group
From the workspace Settings page, navigate to Properties. Click "Create property group" and provide a label. The group is scoped to the currently selected entity type (case, company, or individual).
Adding Properties to a Group
When creating a new custom property, you can select which group it belongs to. You can also assign existing properties to a group by editing them, a "Property Group" field lets you select the target group.
Properties can only belong to one group at a time. Moving a property to a different group removes it from the previous one.
Creating Properties from the Client Portal Builder
You can also create custom properties directly from the client portal builder. When adding a field to a client portal step, a "Create new property" action is available at the bottom of the field list. The new property is created with the selected group and automatically added to the current step.