
Case view
How a case is organised, from the overview of its entities to the review of every check and document
Introduction
A case brings together everything you need to reach a decision on a customer: the company, the people behind it, the checks run on each of them, the documents collected or purchased, and the exchanges with your customer.
The case view lays that out in one place. The Overview tells you in a few seconds who is in the case and where each verification stands, the Checks tab lets you review every check without leaving the case, and the Document tab gathers every file. A side panel next to the content keeps the details of the selected entity, and Autonomy, within reach.
The header
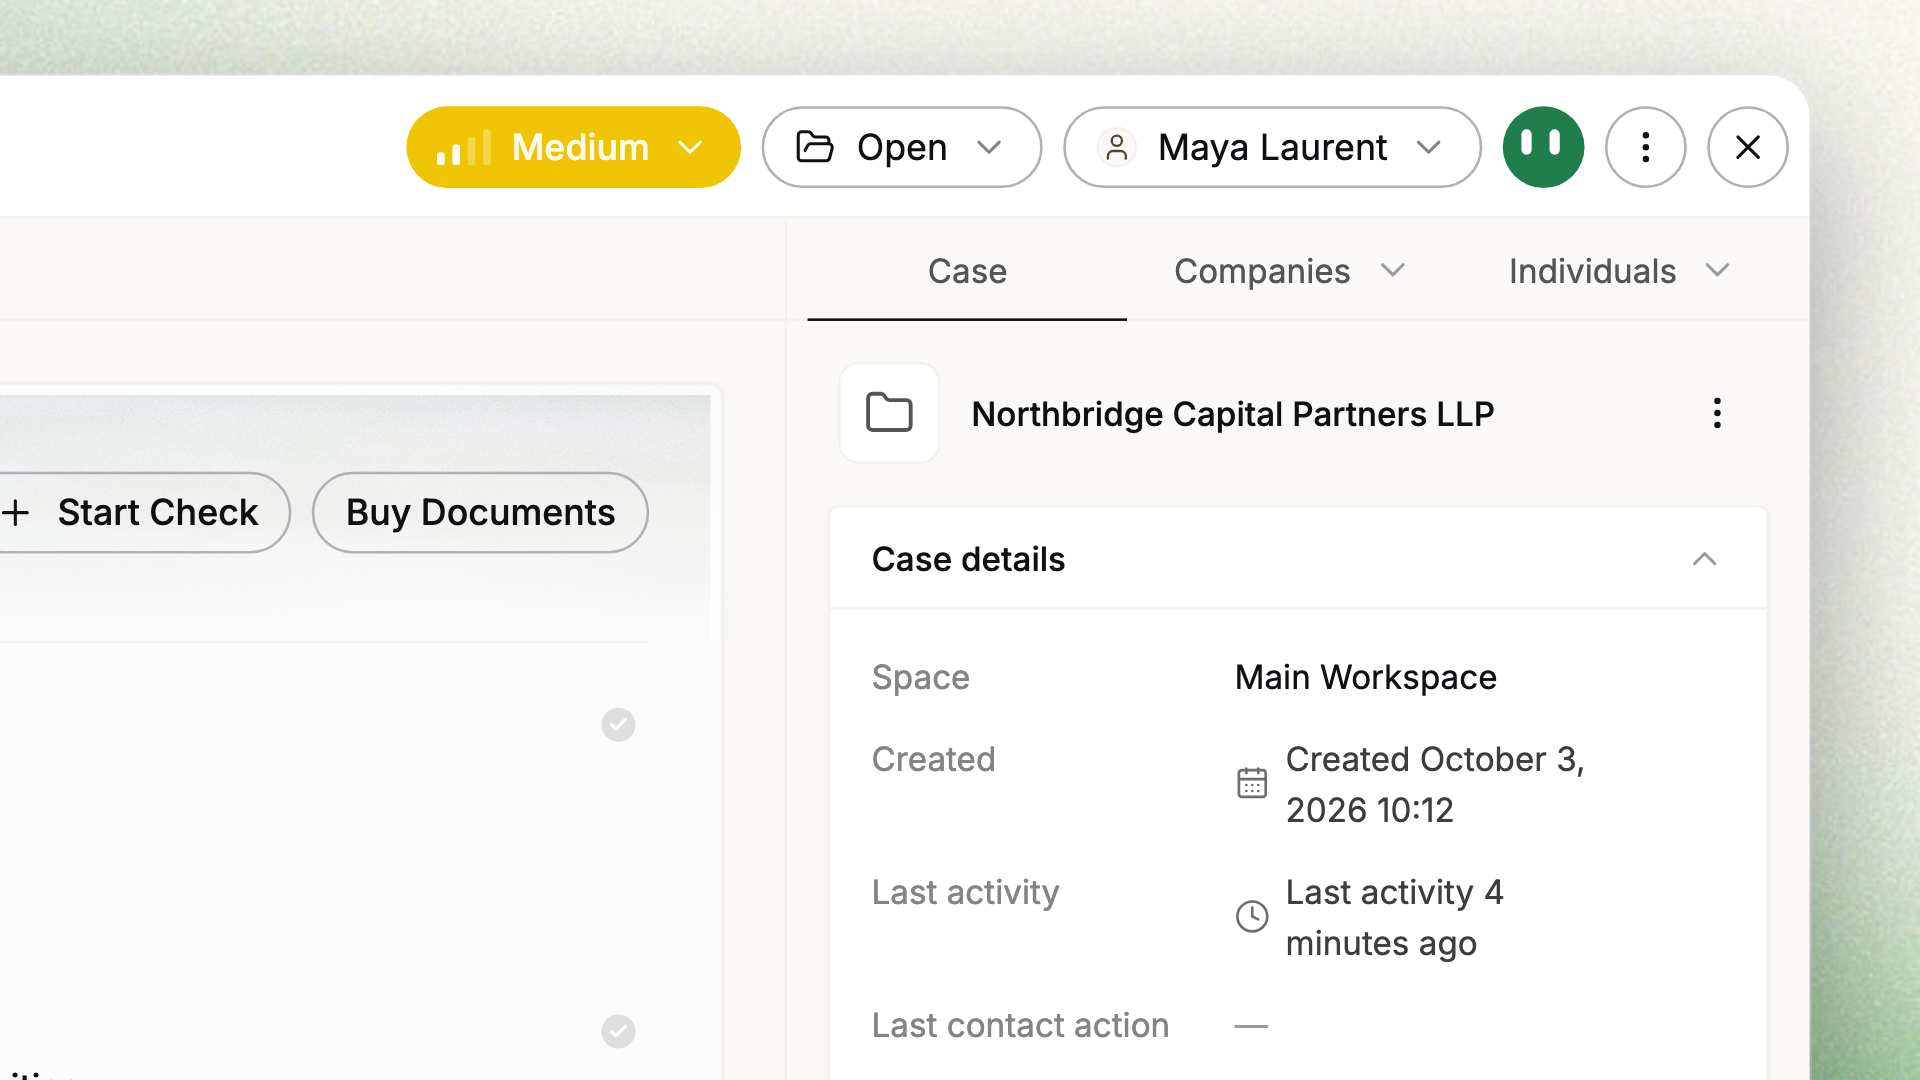
The header stays at the top of the case whichever tab you are on. From left to right:
- Navigation: arrows to move to the previous or next case of the list you opened it from, with your position in that list.
- The case name.
- Risk, Status and Assignee, each a menu you can change directly from the header.
- Autonomy: the button that opens Autonomy in the side panel, with the case as its context. Autonomy opens when you ask for it, and closes the same way.
- The case menu (⋮), which holds the actions that apply to the whole case: Share case link, Send communication, Use old layout, Download all documents, Download case report, Edit case information and Delete case.
Below the header, five tabs: Overview, Checks, Document, Communication and Activity. When checks are waiting for you, the Checks tab shows how many need review.
Overview
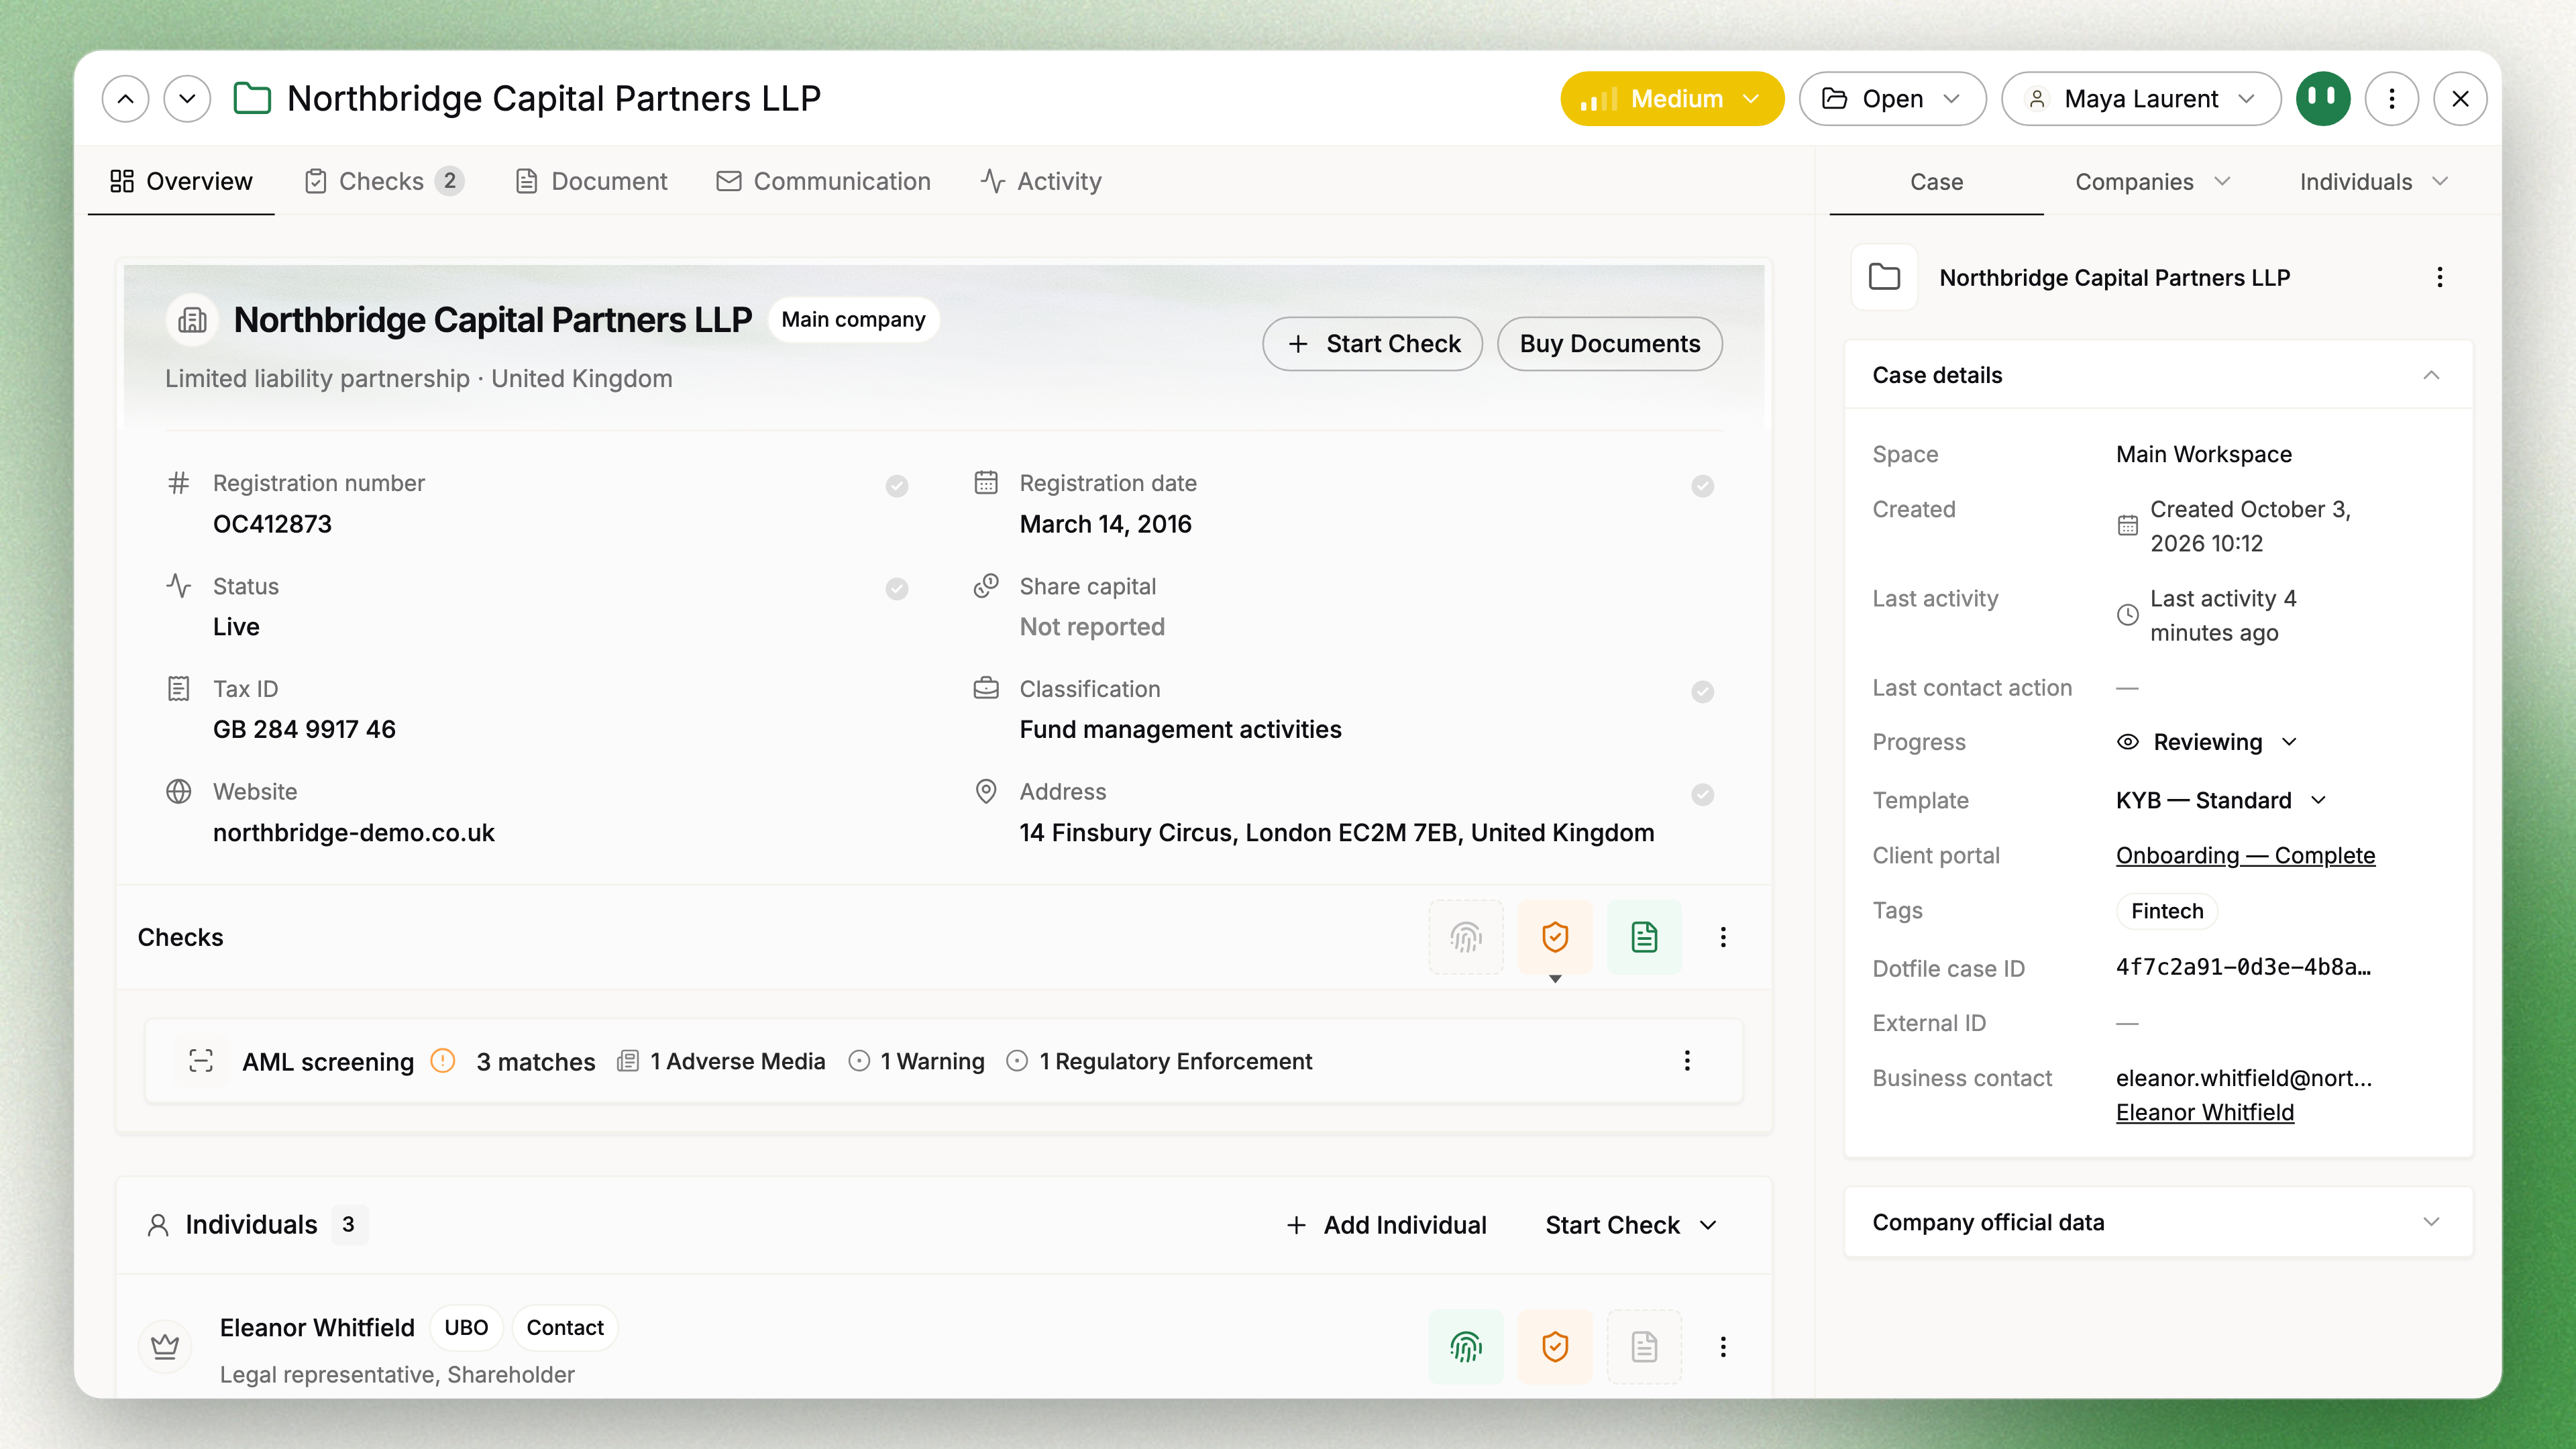
The Overview is a single screen that describes the case from top to bottom.
The business snapshot
At the top, the main company: its name, its key facts (registration number, registration date, status, share capital, tax identification number, classifications, website and Address), and two actions, Start Check and Buy Documents.
Each fact carries its origin. Open it to see which sources reported which value and when, and to choose the value to keep, as described in Data Lineage.
On a case that has no entity yet, the snapshot offers Add Individual and Add Company instead.
Verification status for each entity
Every entity in the case, the main company included, shows three buttons with a count: Identity, Screening and Documents. Each one groups a family of checks:
| Family | Checks it groups |
|---|---|
| Identity | ID verification, ID document, eKYC, email and phone verification |
| Screening | AML screening, company monitoring, fraud database, online reputation |
| Documents | Documents and electronic signatures |
Click a family to open a drawer listing the checks of that family for this entity, each with its status. From there you can open a check without leaving the Overview.
Individuals
The Individuals block lists every person in the case. Under each name, the relation roles they hold in the company, such as Legal representative or Shareholder. Next to it, tags for the roles that matter for the review: UBO (Ultimate Beneficial Owner), Contact, Person with Significant Control, Delegator, Signatory, and Not relevant for a person you have set aside.
Add Individual adds a person to the case, and Start Check starts a check on one of them.
Affiliated companies
The Affiliated companies block lists the other companies connected to the main company, with the same verification status and the same actions: Add Company and Start Check.
Ownership
The Ownership block shows a preview of the main company's ownership structure. Open full screen opens the whole graph. When the structure has not been built yet, Start unravelling launches it from the case's main company.
Controls and notes
The Controls block lists the controls of the case and how many are completed. The Notes block holds the case notes shared by your team, and Add note writes a new one.
Click the name of any entity on the Overview to show its details in the side panel.
Checks
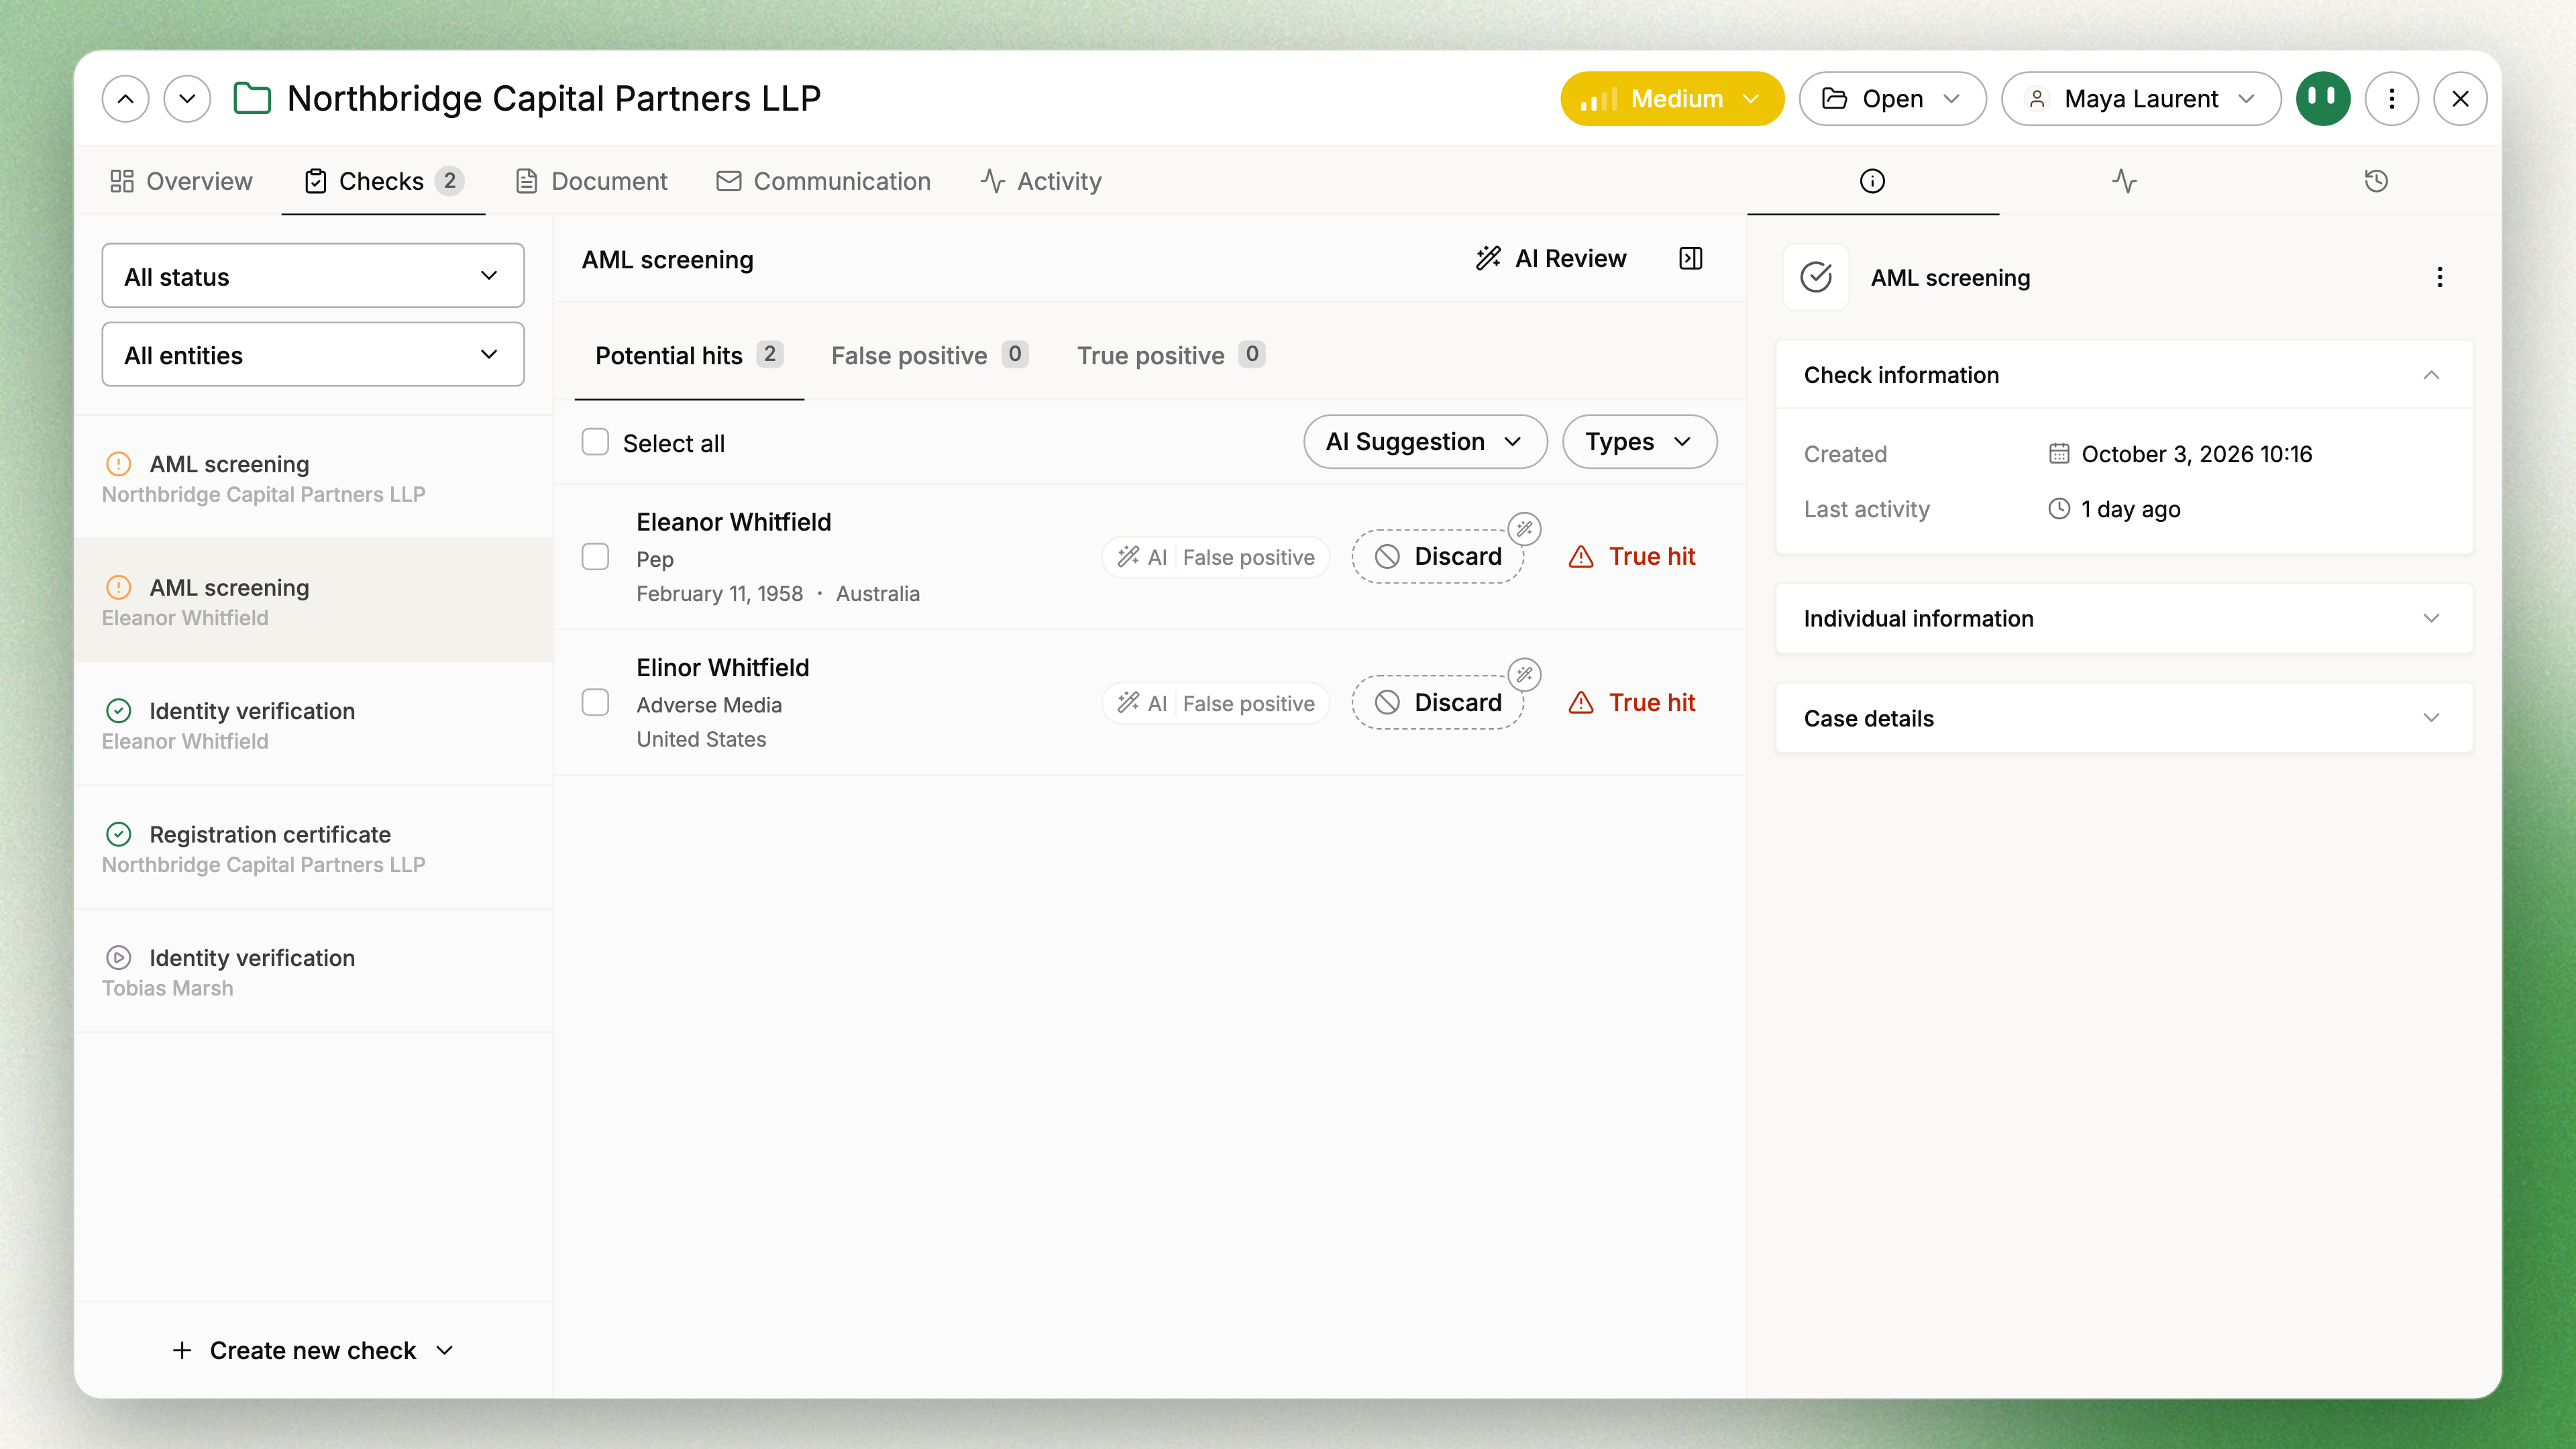
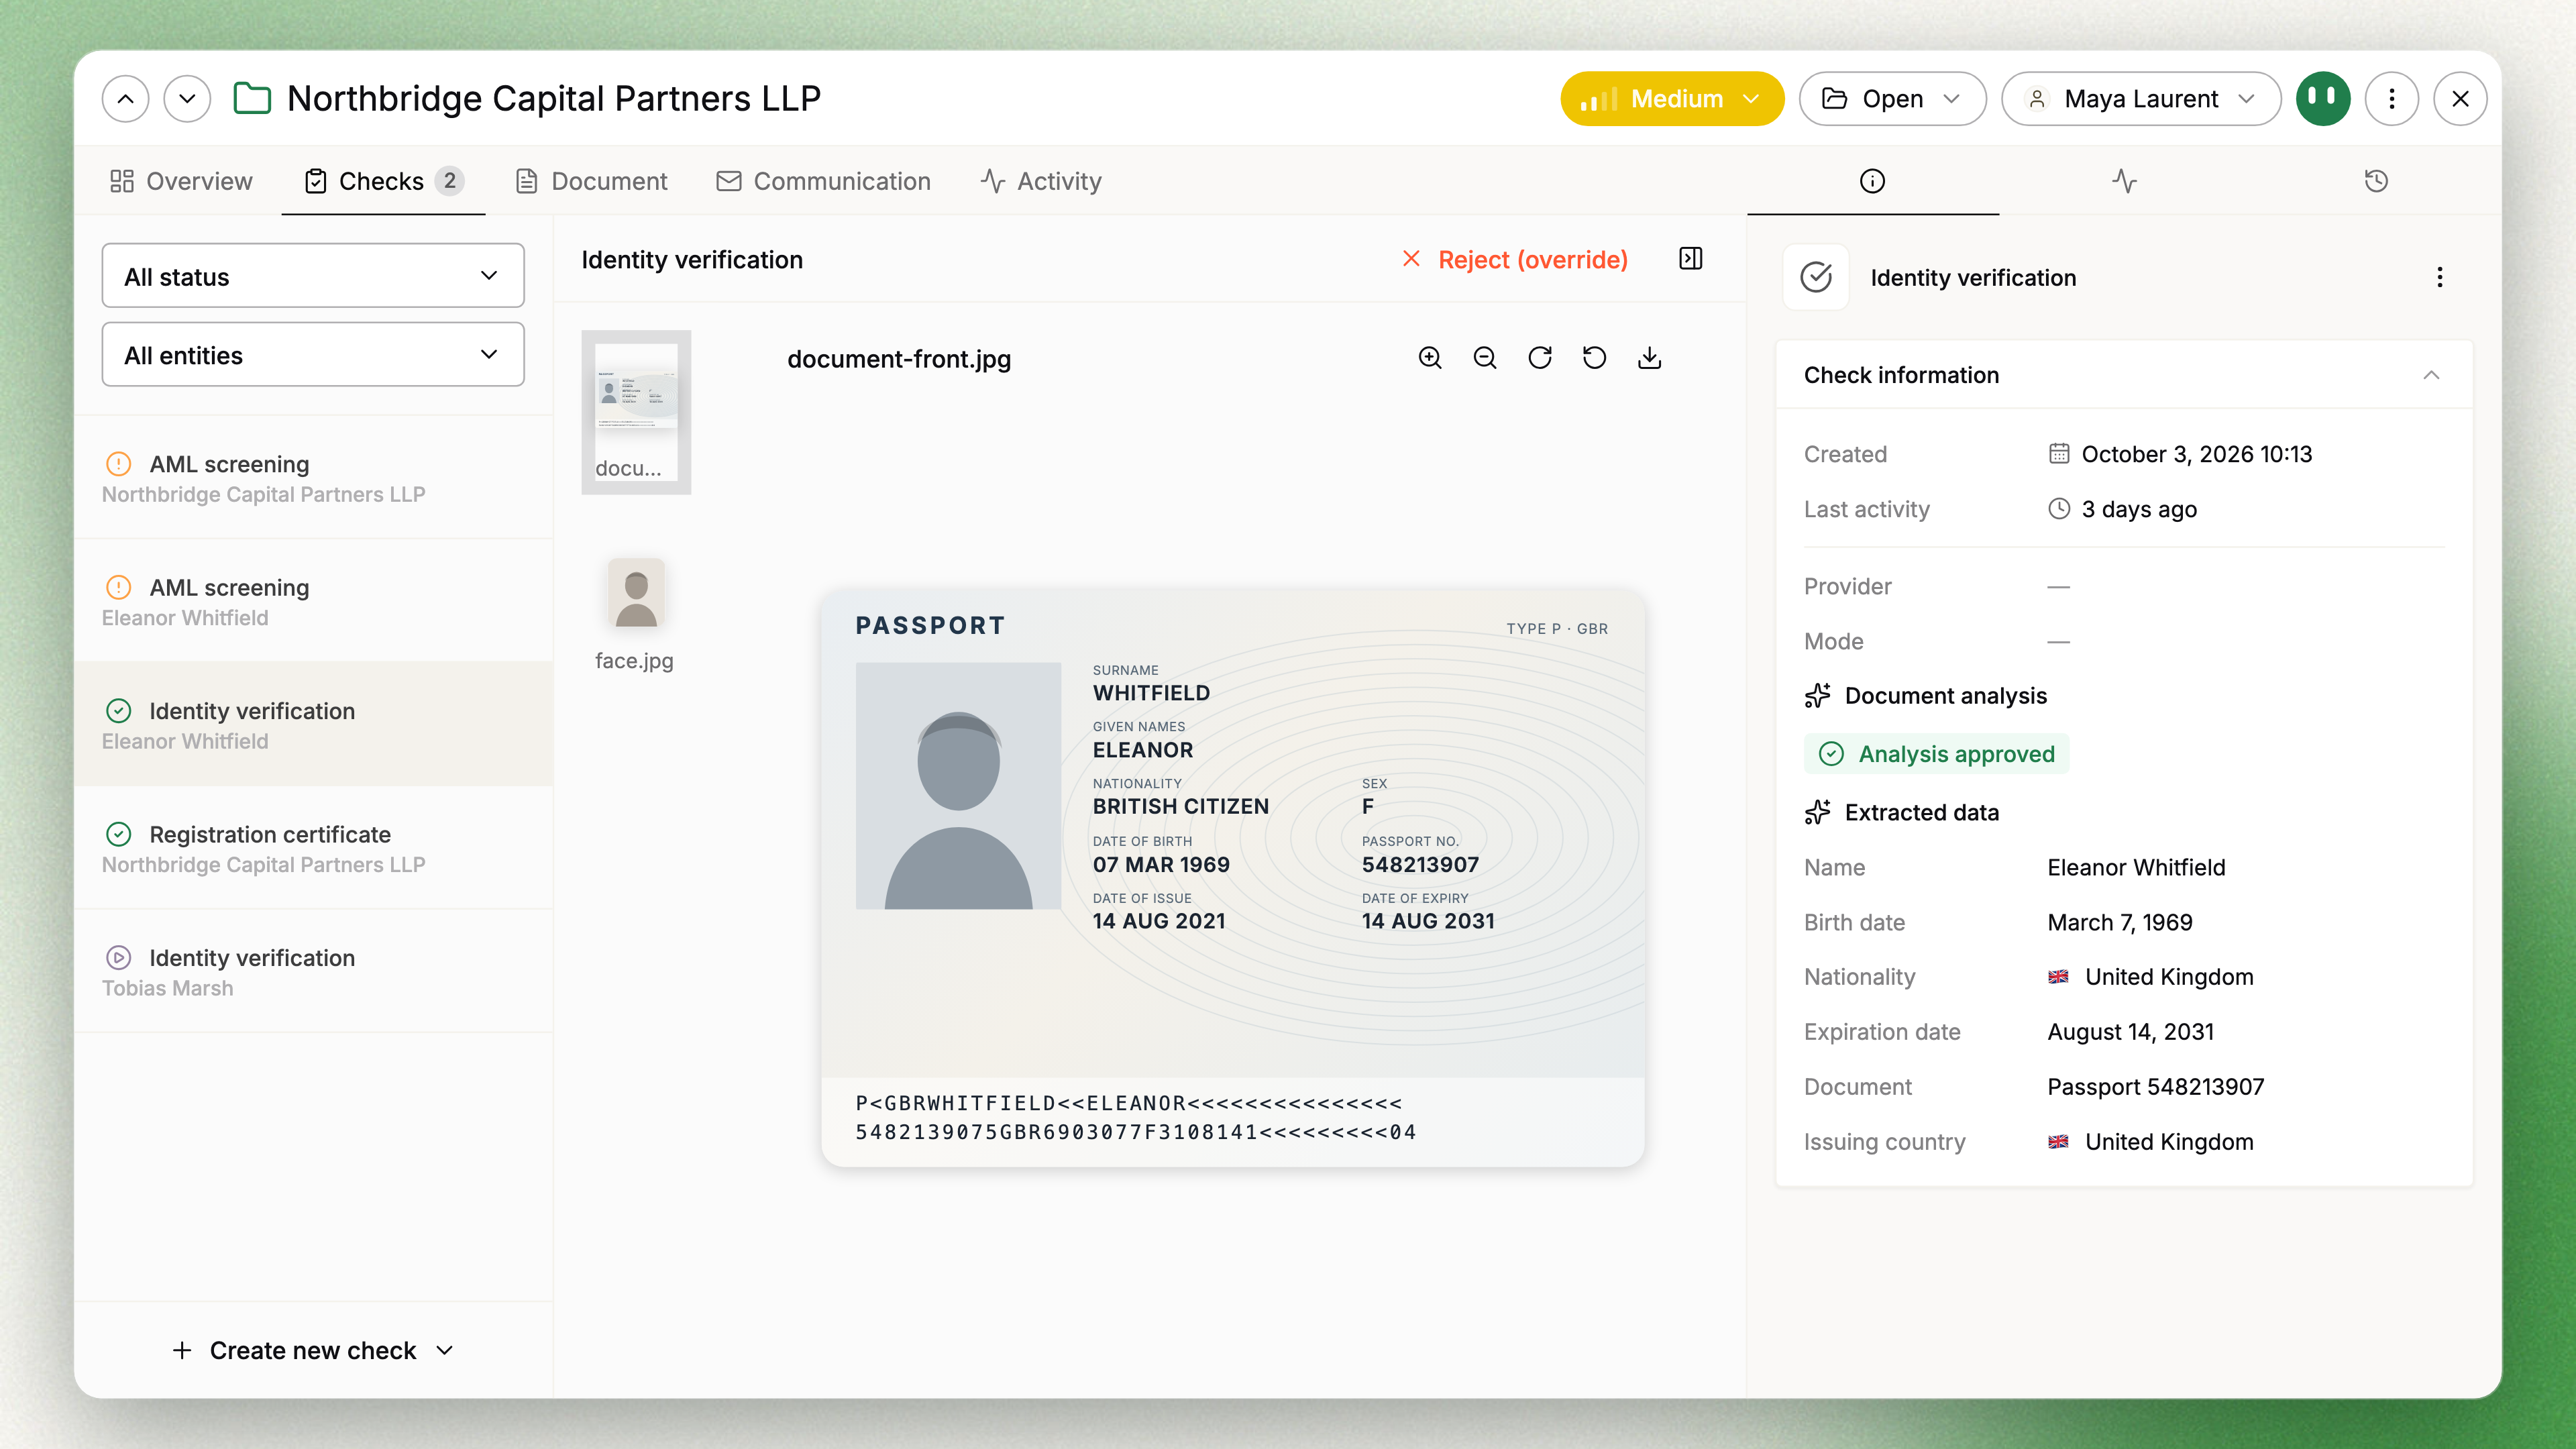
The Checks tab is where you review checks. Every check of the case sits in one list on the left, and the selected check opens next to it, in place, with its information panel and Autonomy on the right.
- Filters: narrow the list by status (All status, Need review, Approved, Rejected, Expired, In progress, Processing) and by entity (All entities, or a single company or individual).
- Keyboard: the ↑ and ↓ arrow keys move from one check to the next, so you can work through a queue without reaching for the mouse.
- Shareable: the page address follows the selected check, so a reload or a link sent to a colleague opens on the same check.
Creating a check
Create new check, at the bottom of the list, asks for the entity and then opens the check catalogue. Checks are grouped into Identity, Compliance and Documents. Select a check type to see what it covers, set its options, and confirm with Create check.
The same catalogue opens from Start Check on the Overview.
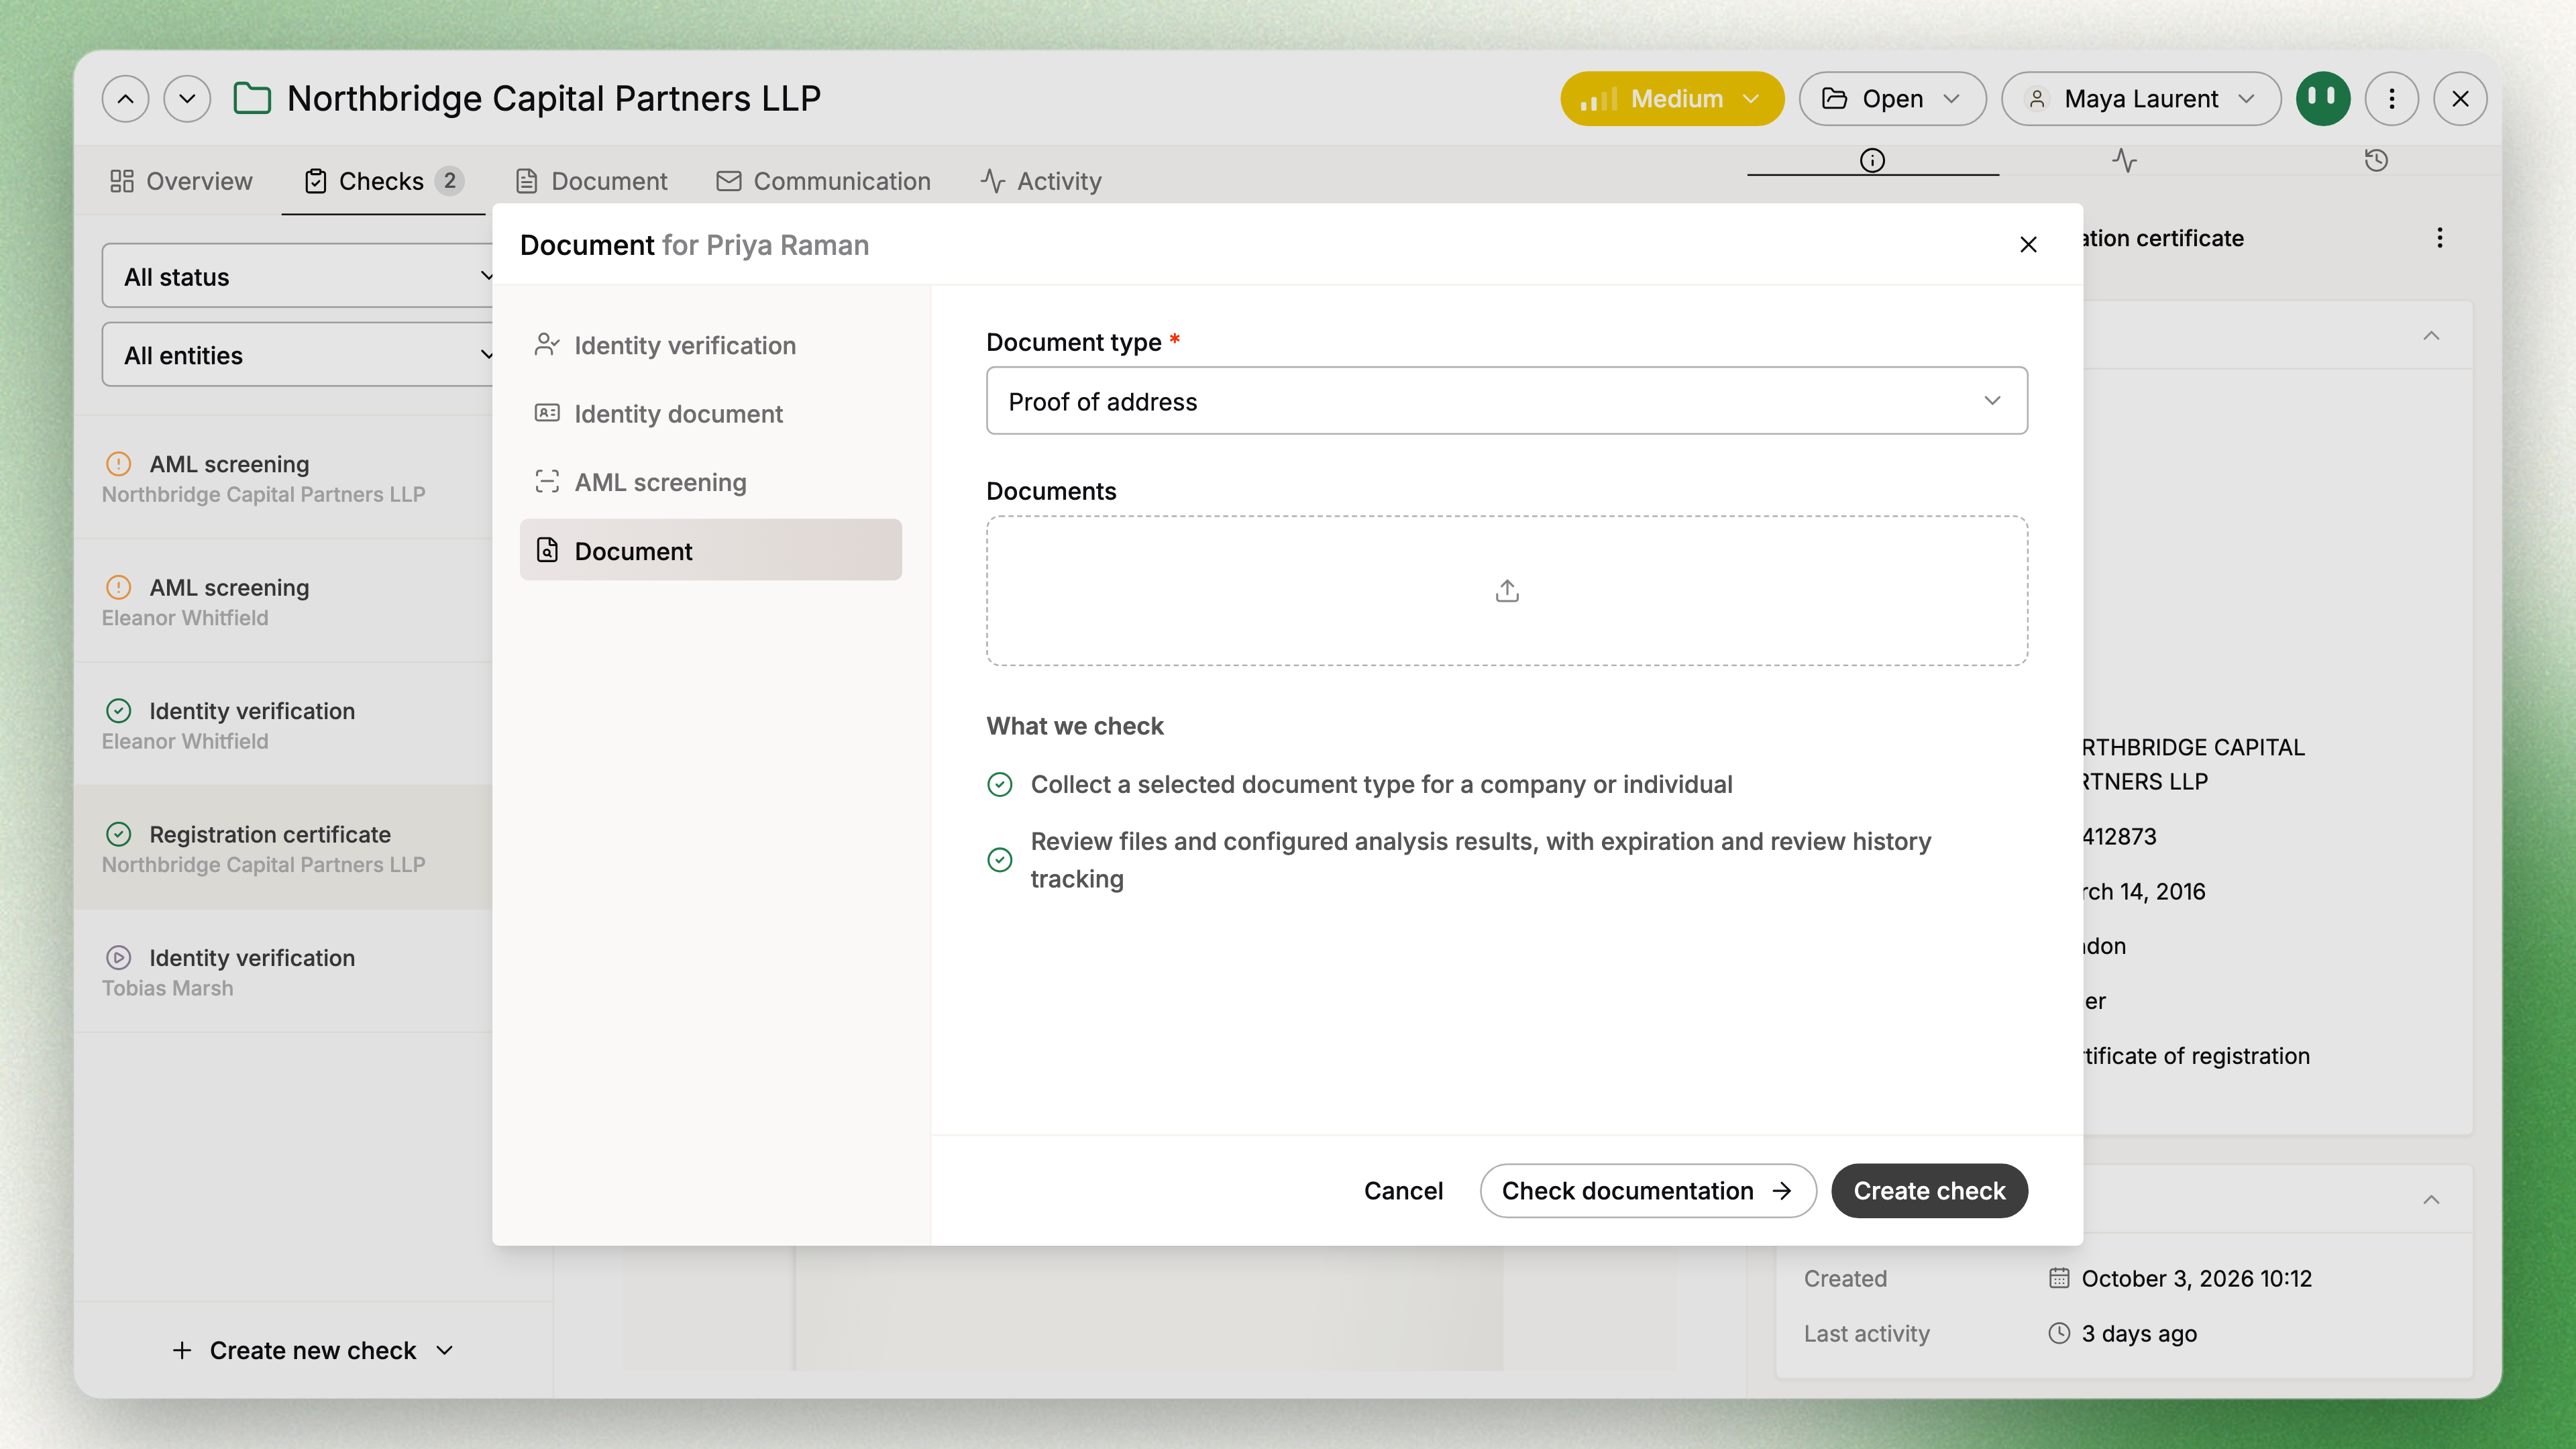
Document
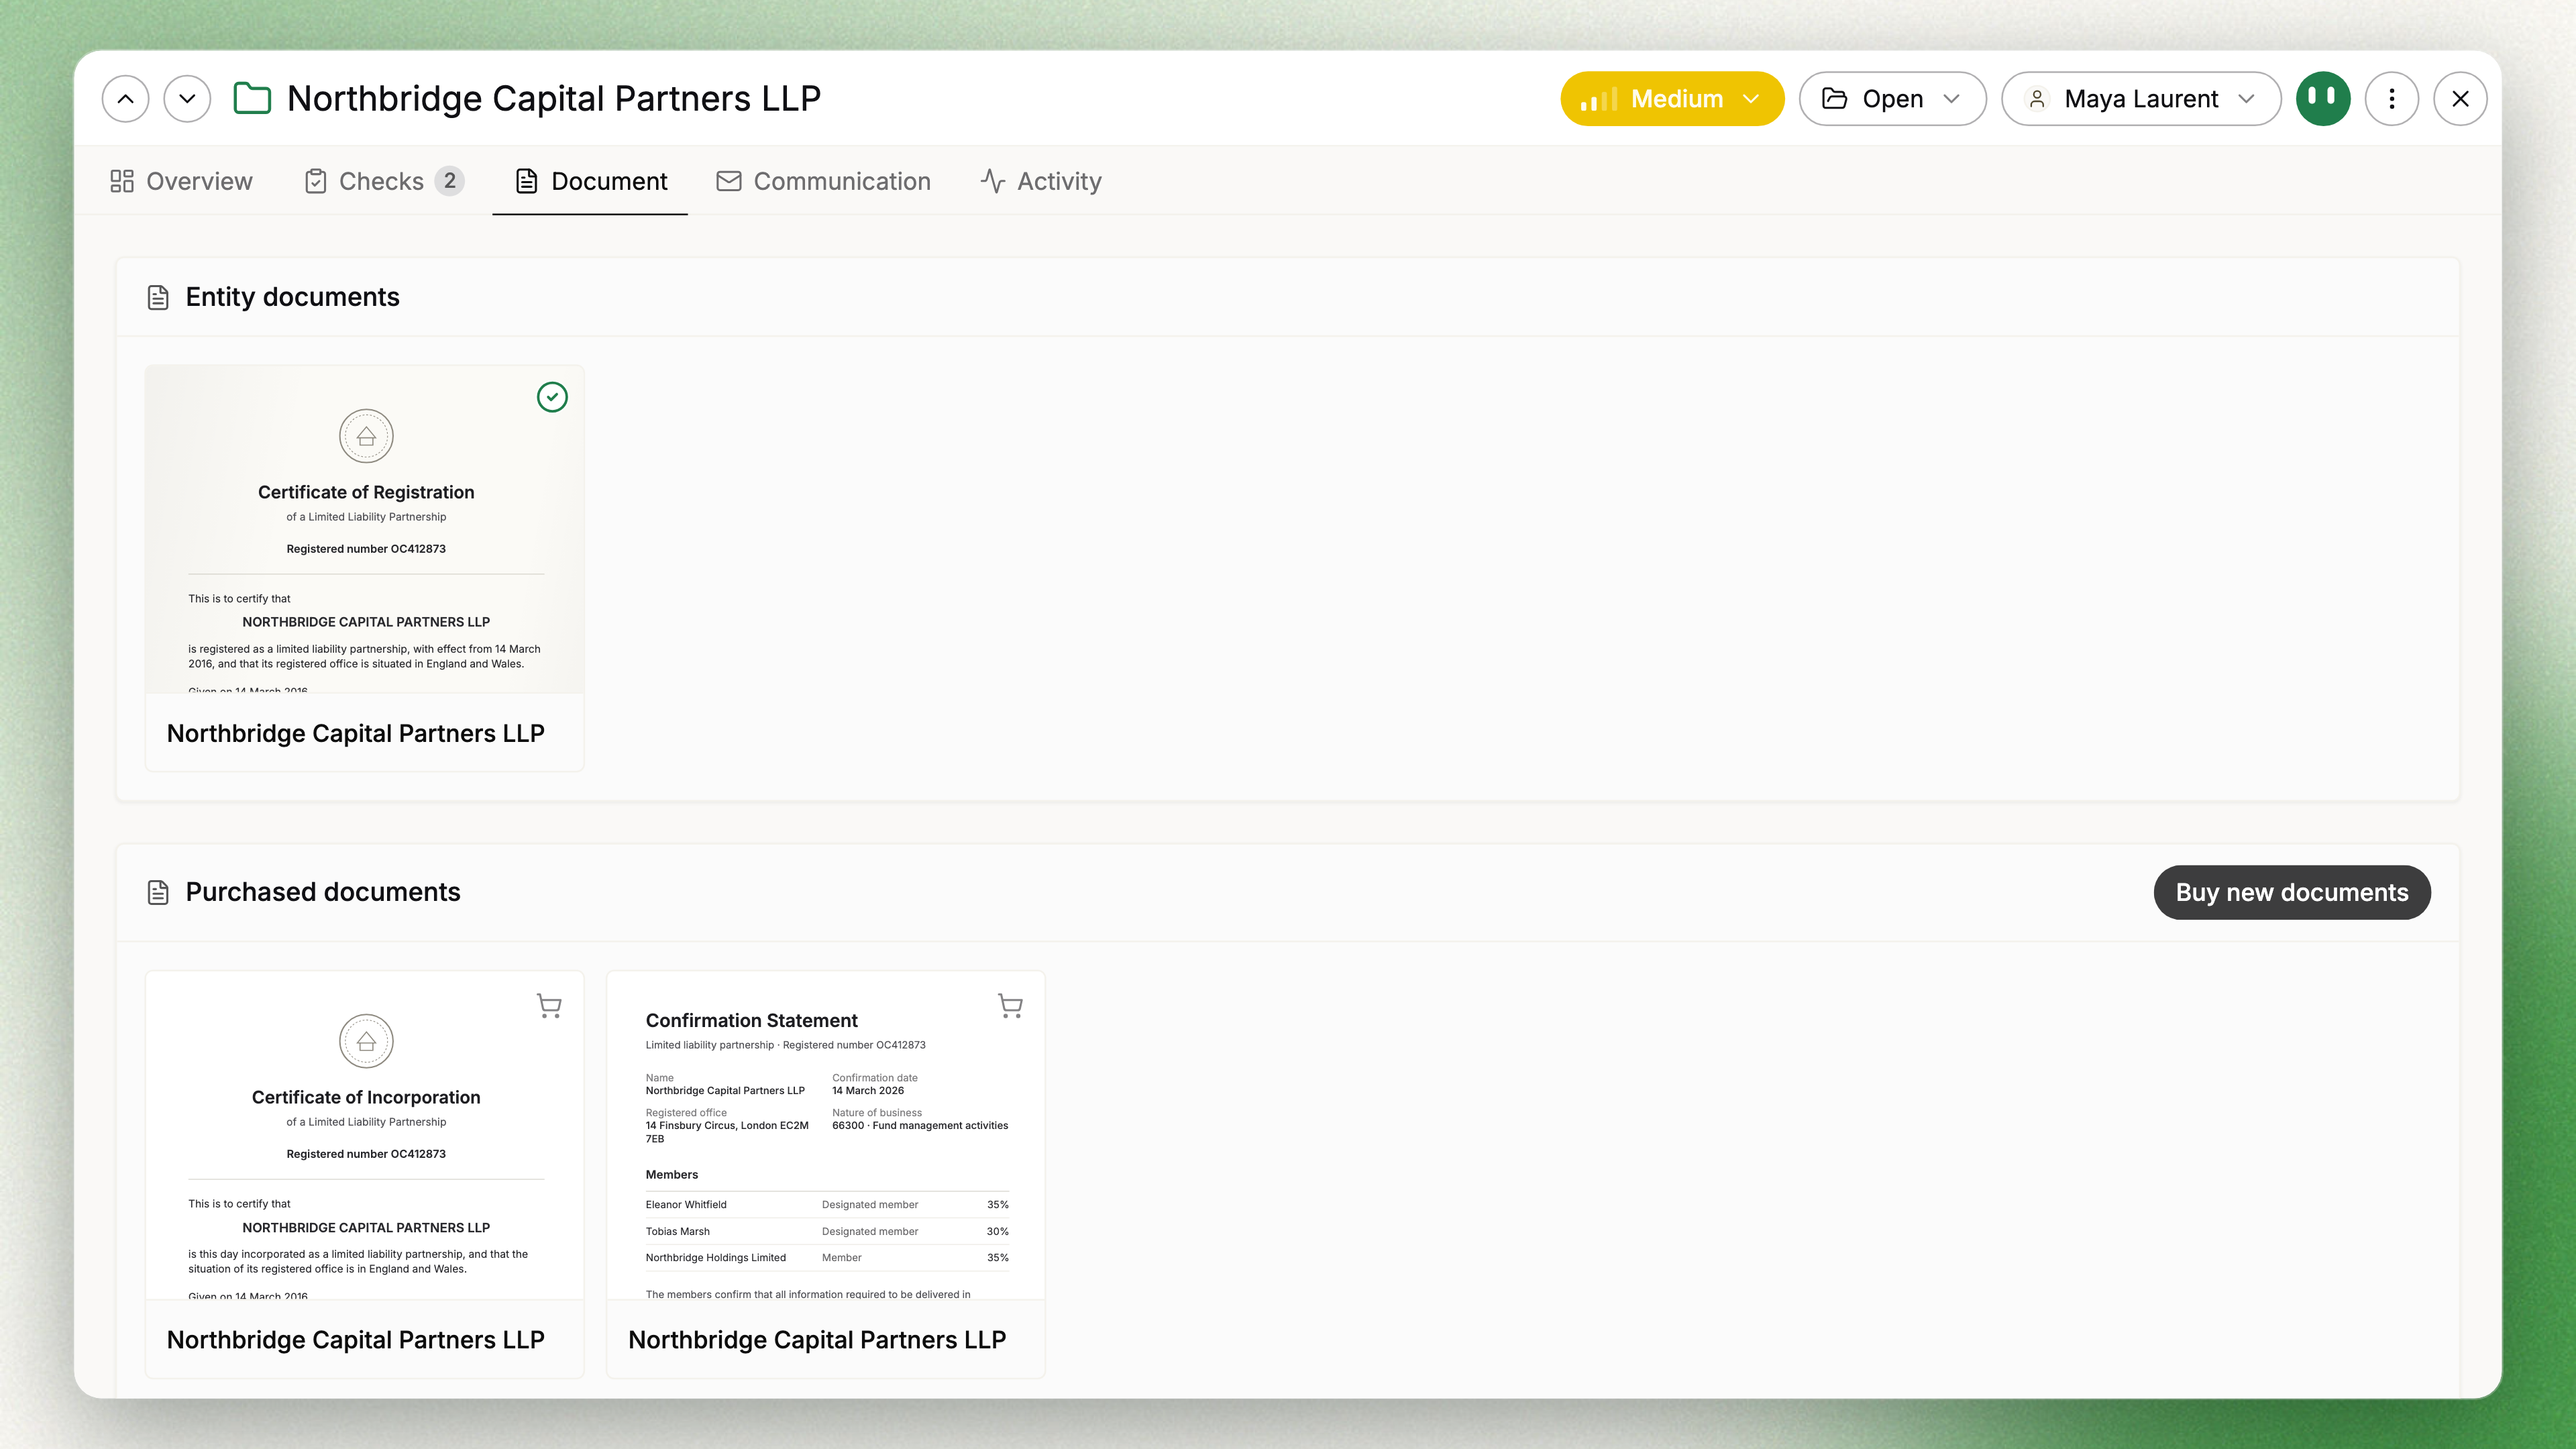
The Document tab gathers every file of the case in two sections:
- Entity documents: the documents provided for the case, labelled Provided by company or Provided by individual.
- Purchased documents: the documents bought through Dotfile. To order another one for the main company, use Buy new documents on the same screen.
Opening a document shows the check it belongs to, without leaving the tab.
Communication and Activity
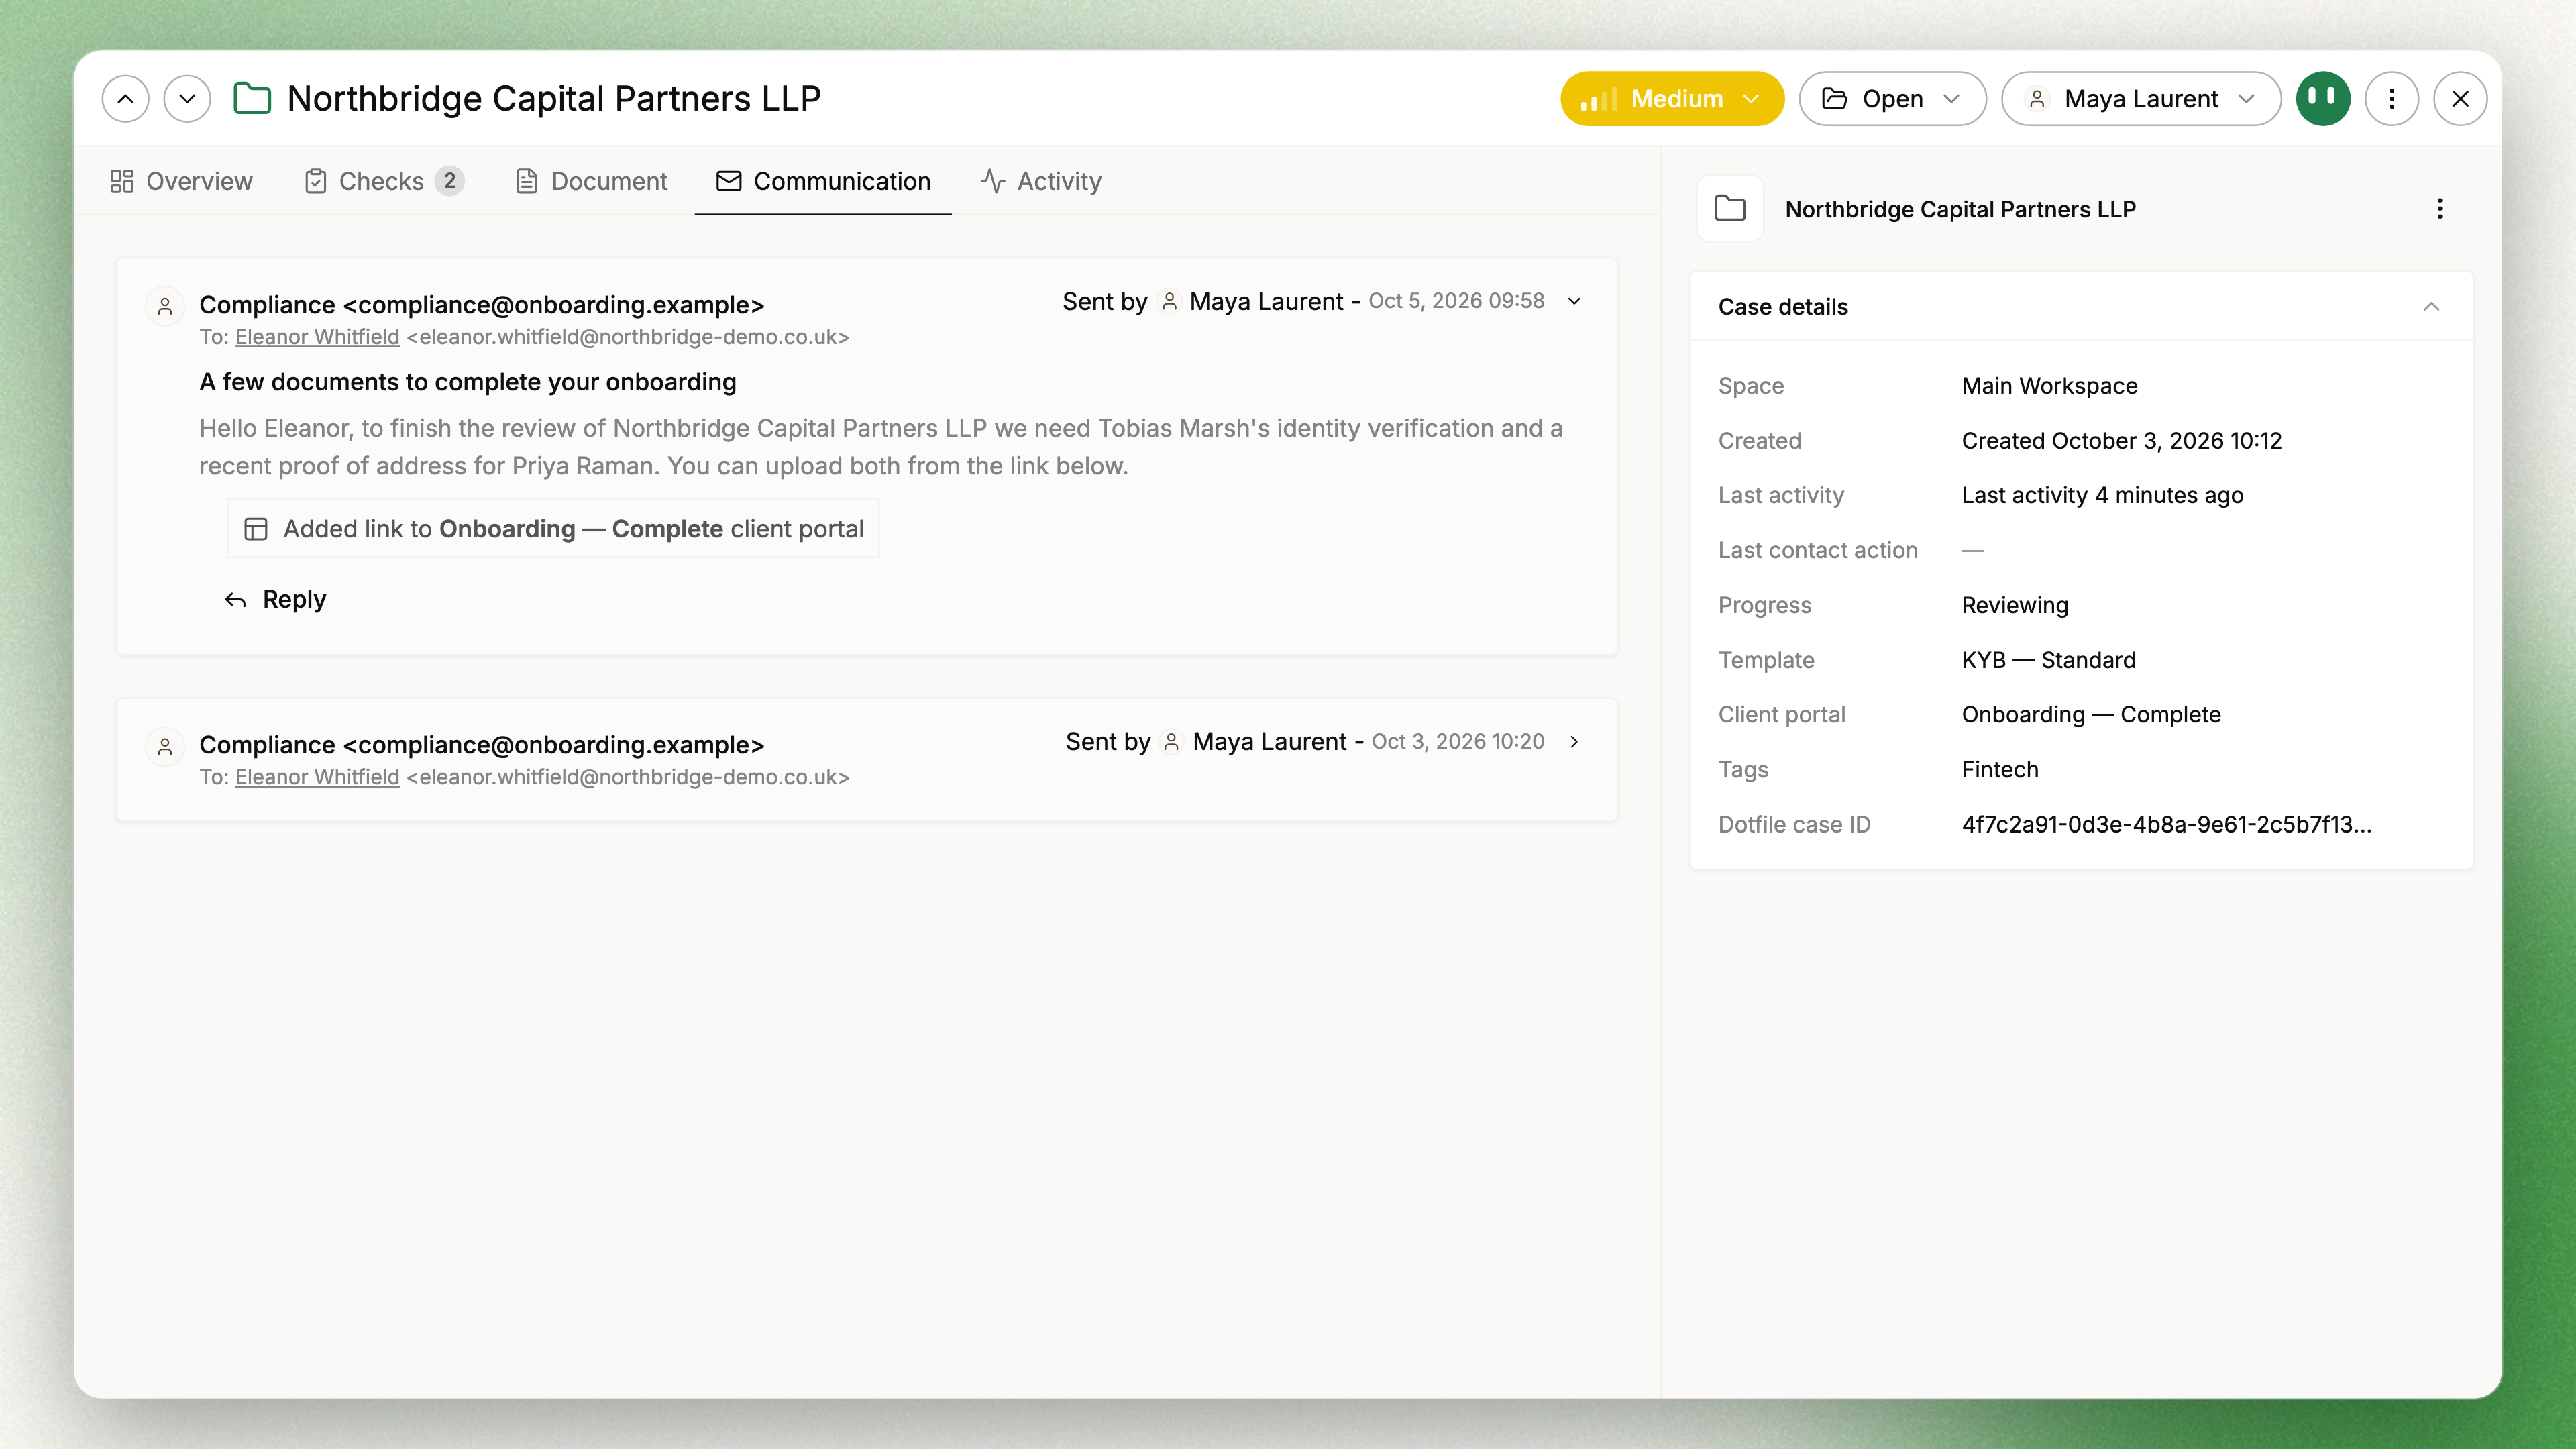
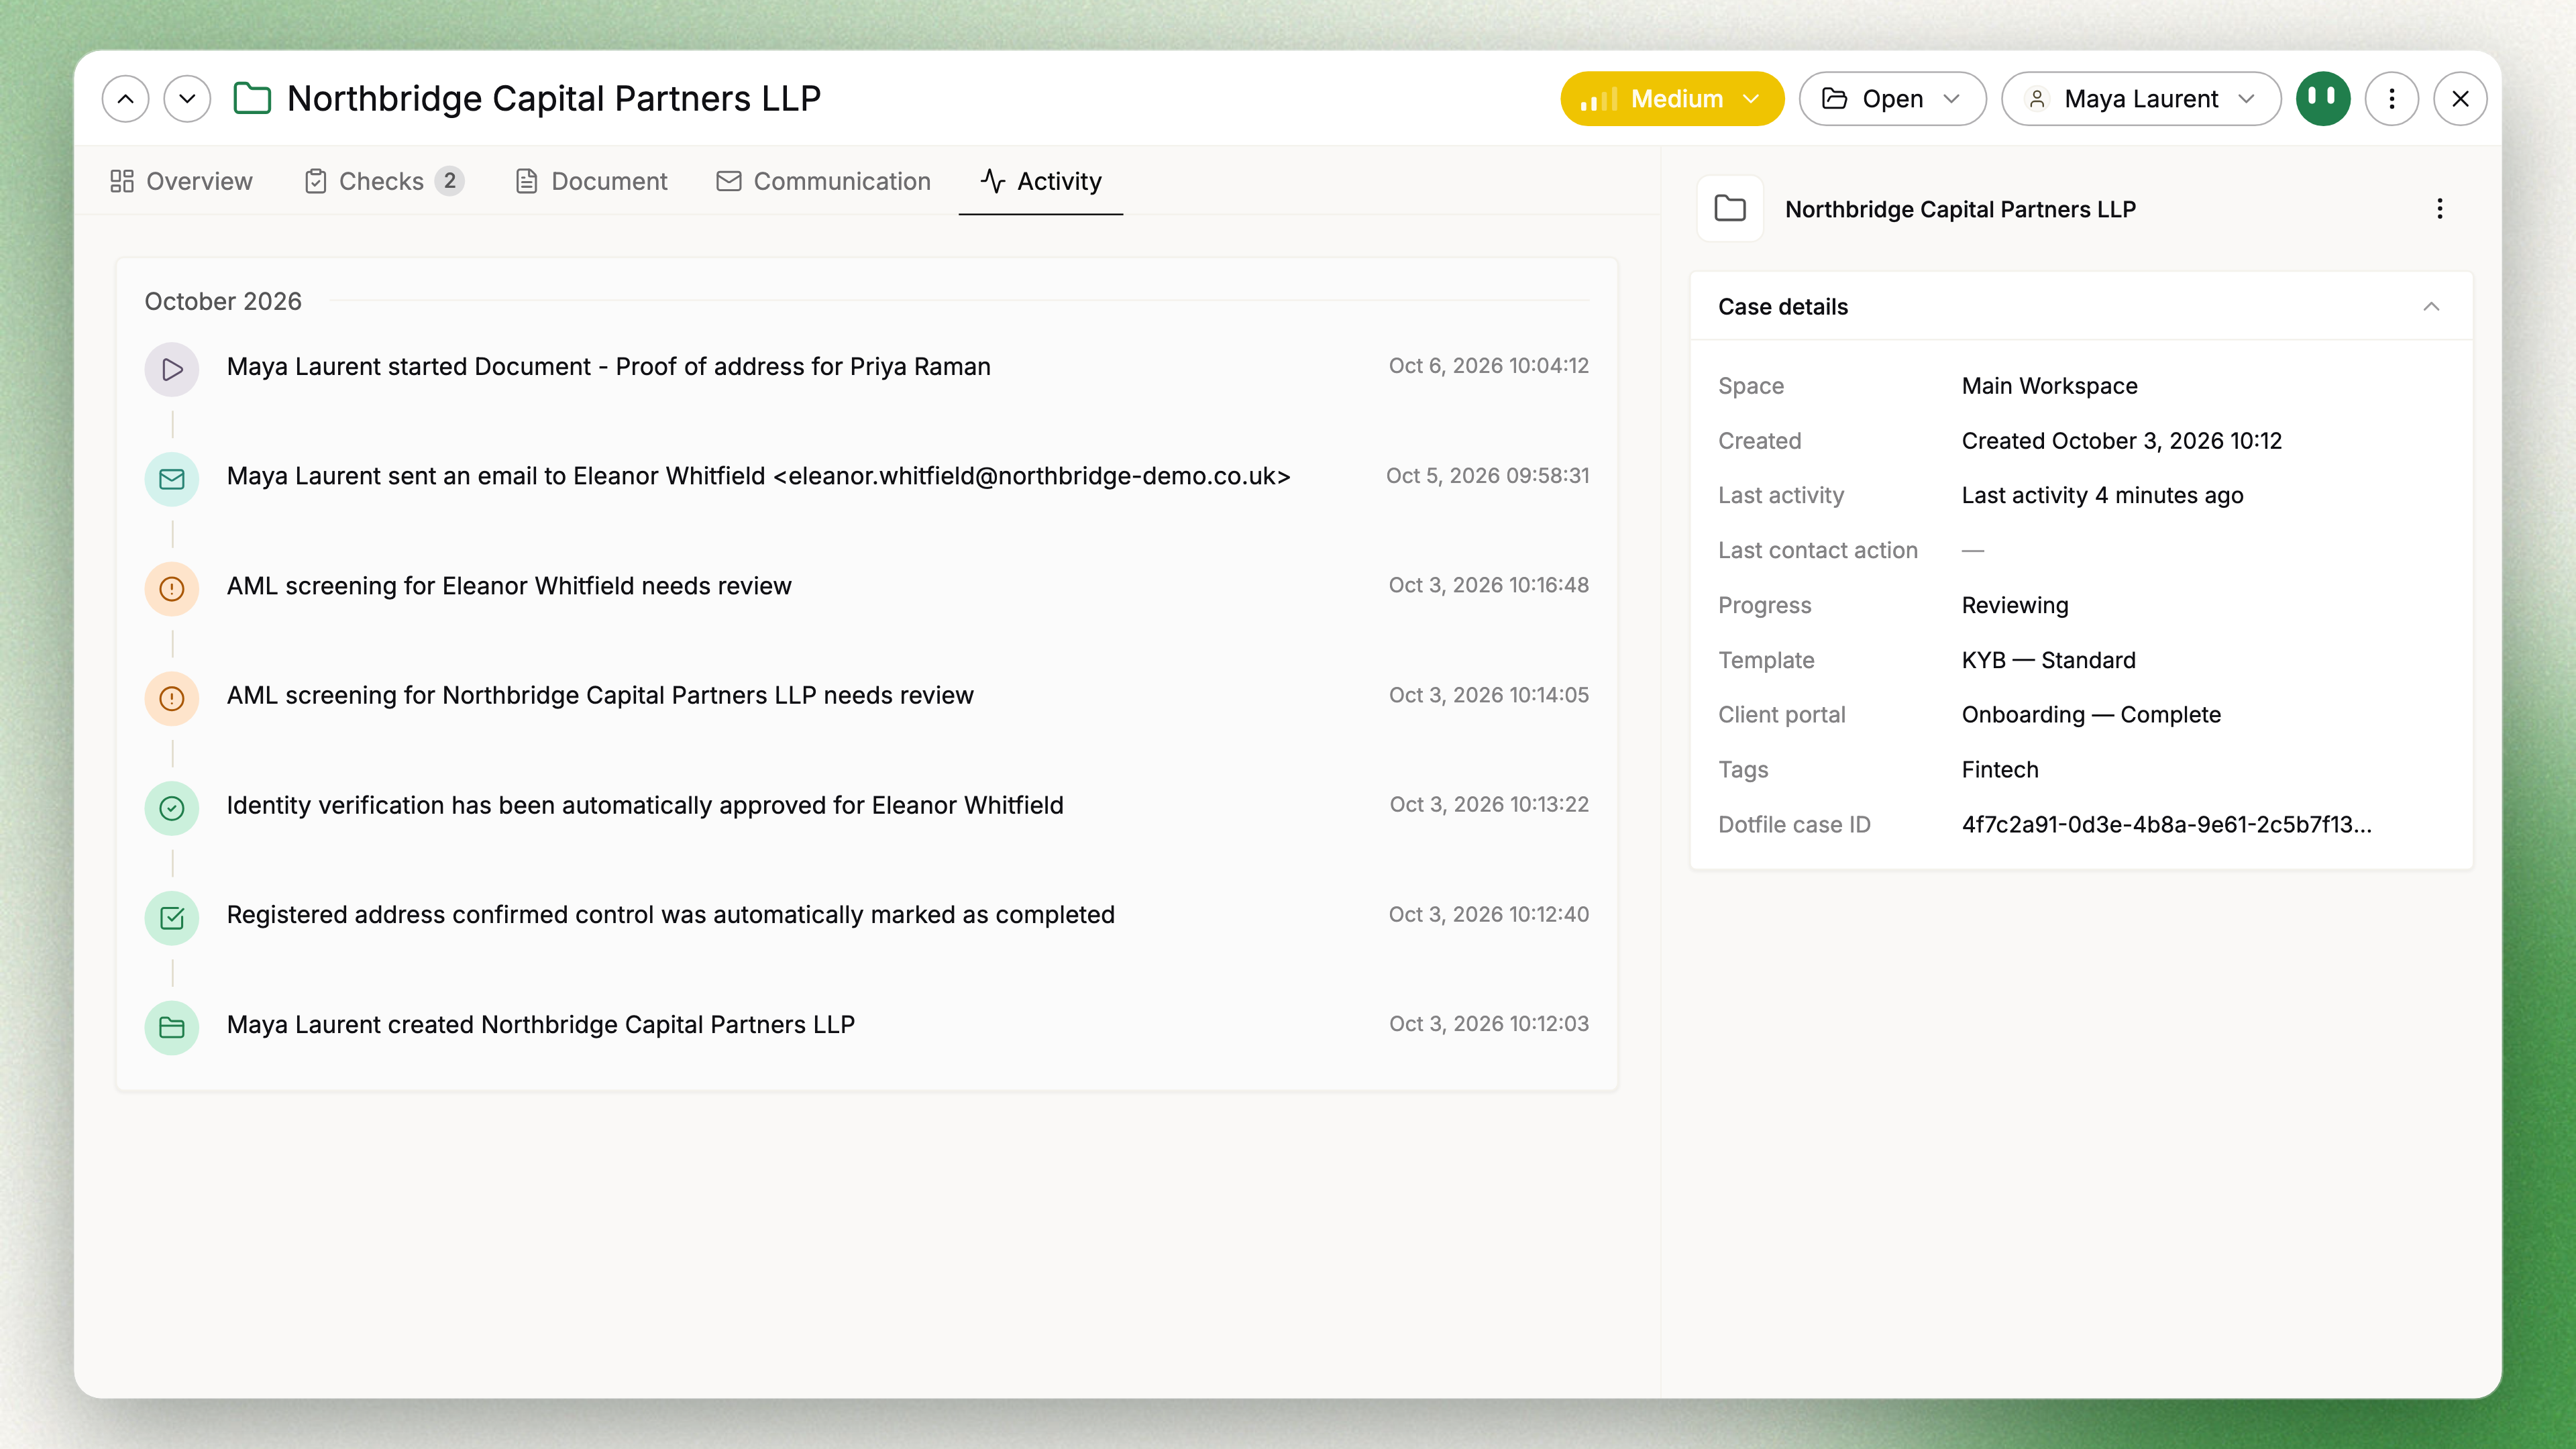
The Communication tab holds the exchanges with your customer, as described in Communication hub. The Activity tab is the history of the case: who did what, and when.
The side panel
On the Overview, the side panel has two tabs:
- Information: the details of the case and its entities, in three sub-tabs, Case, Companies and Individuals. It shows the Case details and, for a company, its Company official data. Clicking an entity on the Overview opens it here.
- Autonomy: the assistant, with the case as its context.
The Panel display menu changes how the information reads: Show empty fields or Hide empty fields, and Show values below labels or Show values next to labels. The panel can be resized by dragging its edge.
Switching layouts
The previous case layout remains available: choose Use old layout from the case menu to return to it.
Updated 2 days ago